Step-by-Step Guide to Setting Up Smart Home Automation for Apple HomeKit
When you buy through our links, we may earn a commission.
Why Choose Apple HomeKit for Your Smart Home?
Apple HomeKit offers seamless integration, strong privacy protections, and voice control through Siri, making it an excellent choice for Apple users. Whether you’re automating lights, locks, thermostats, or cameras, HomeKit helps you control your home effortlessly with your iPhone, iPad, Apple Watch, or HomePod.
What You’ll Need to Get Started
Before diving into automation, ensure you have the right essentials. (At the bottom of the page we’ll link some of our favorites for you!)
An Apple device (iPhone, iPad, or Mac) to manage HomeKit.
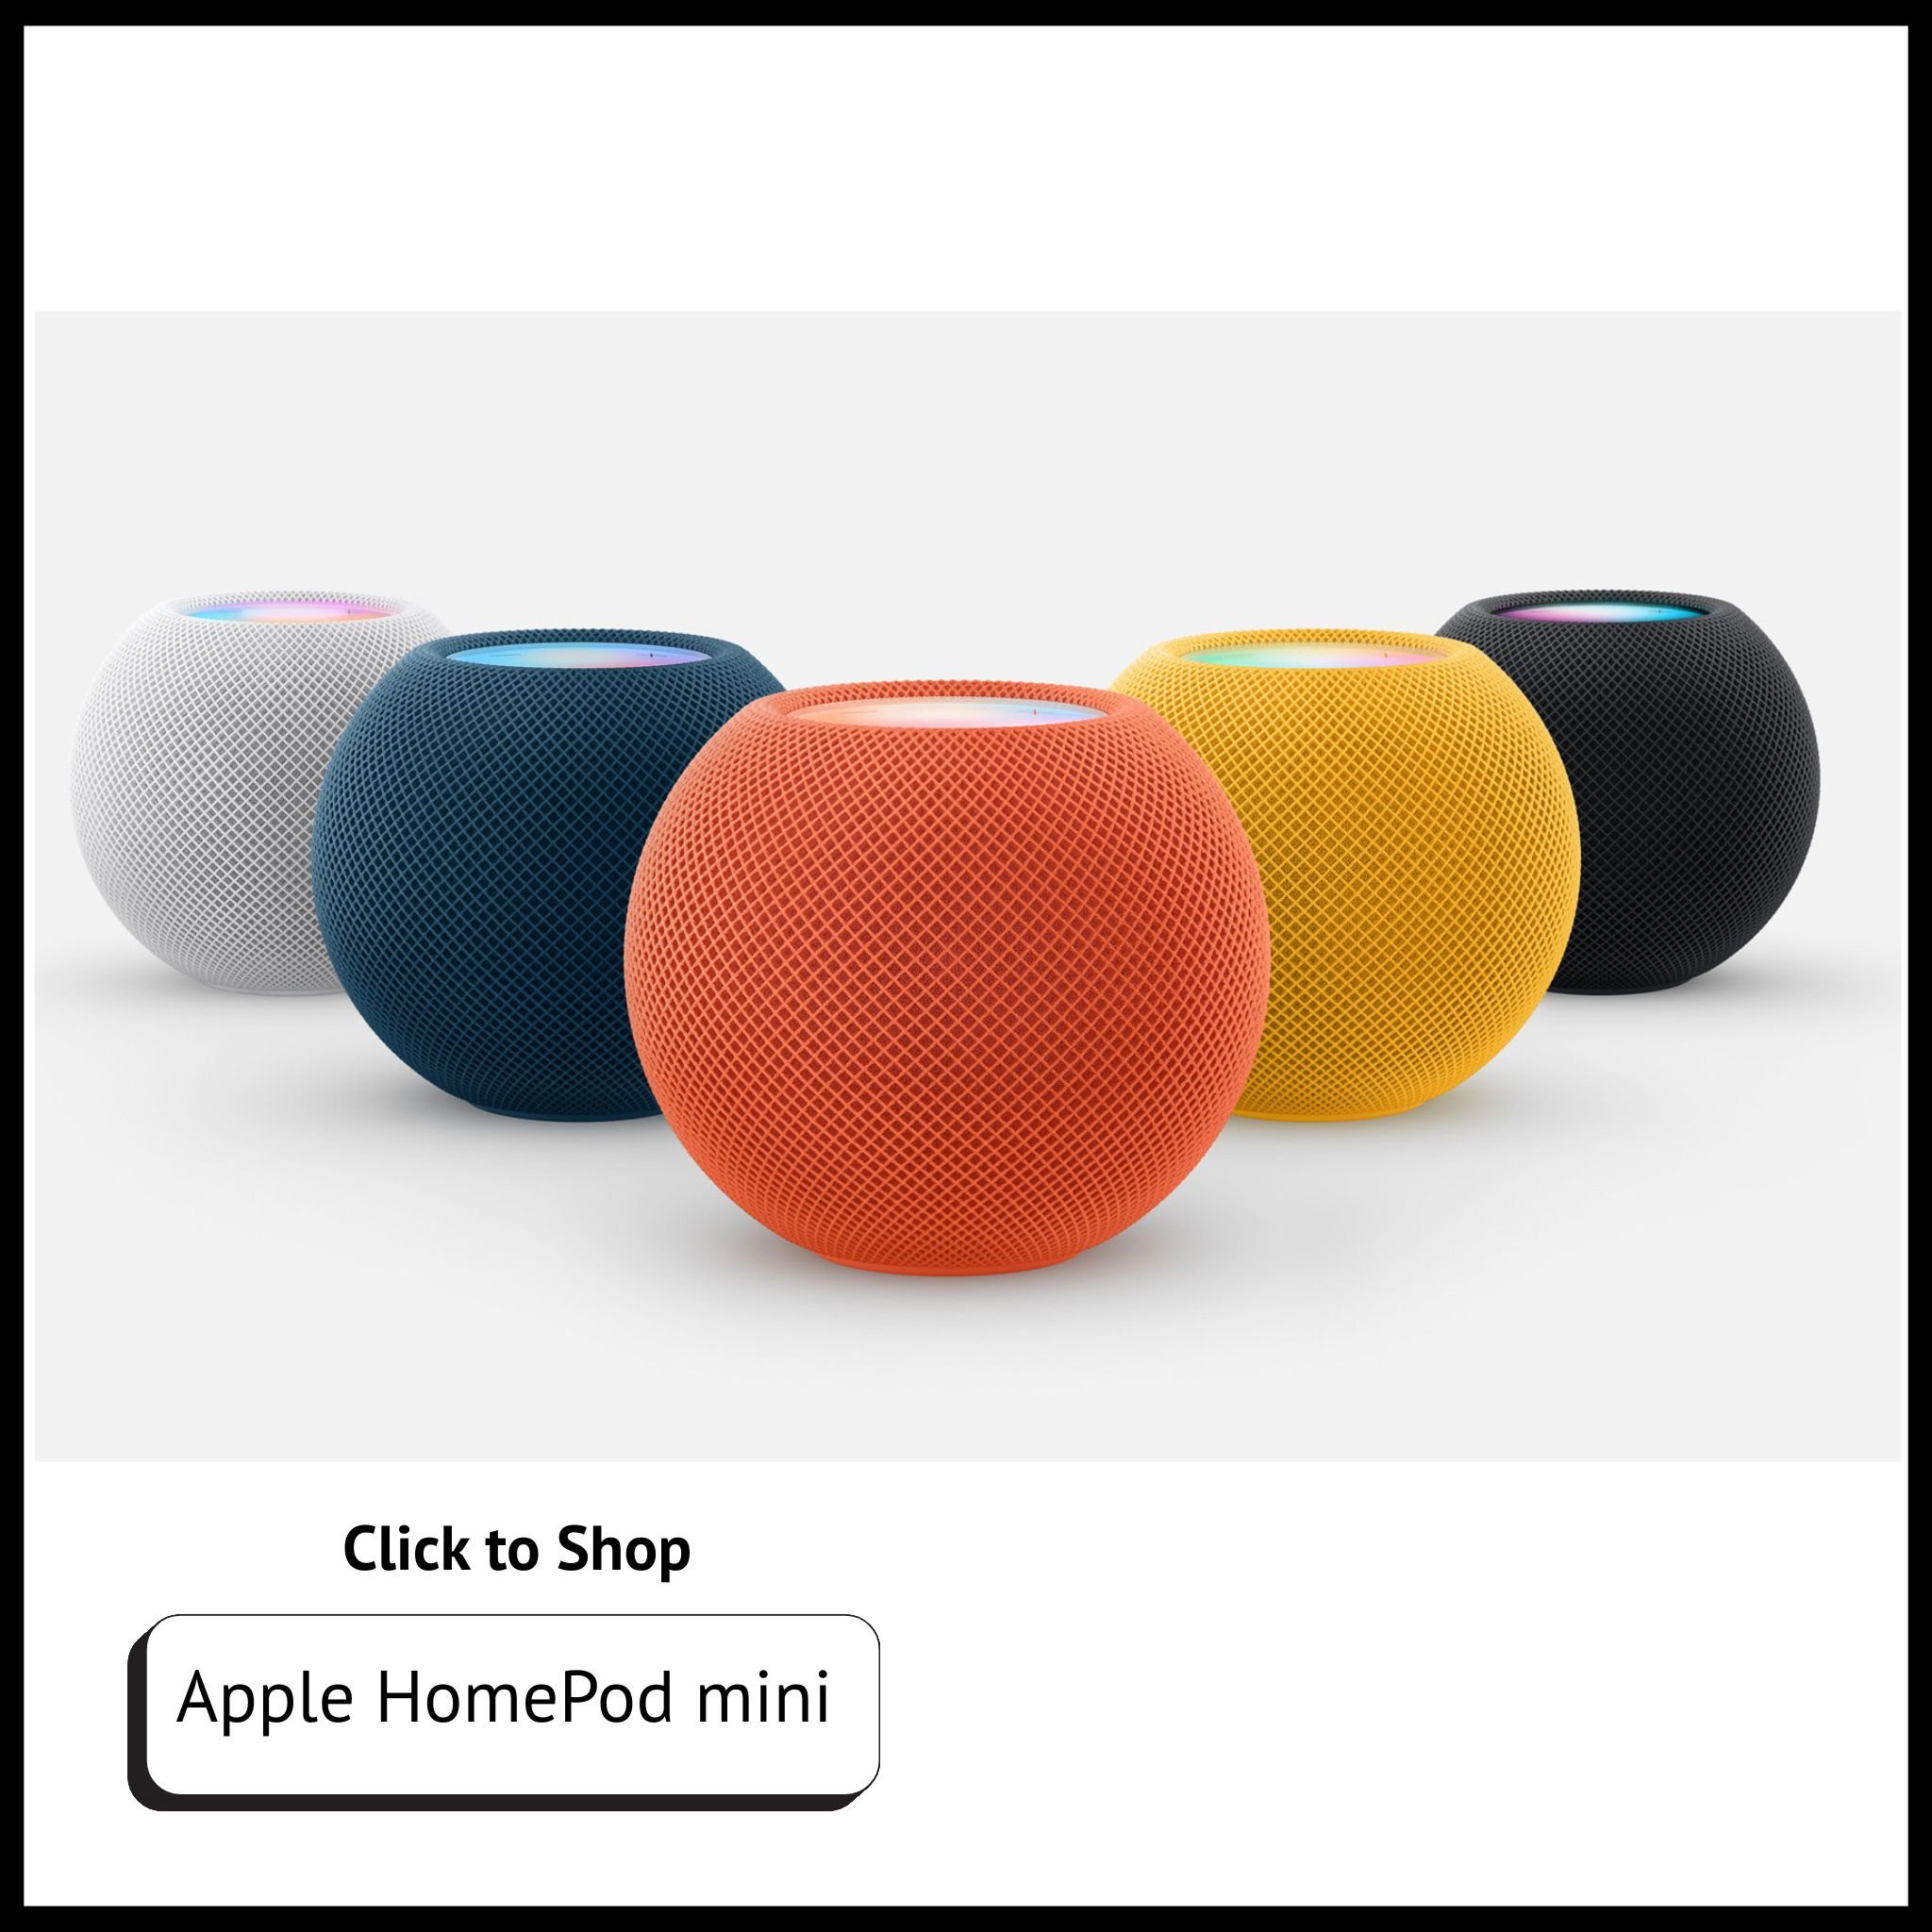
A HomeKit Hub (HomePod, HomePod Mini, Apple TV, or iPad) for remote access and automation.
HomeKit-Compatible Smart Devices (lights, locks, thermostats, cameras, sensors, etc.).
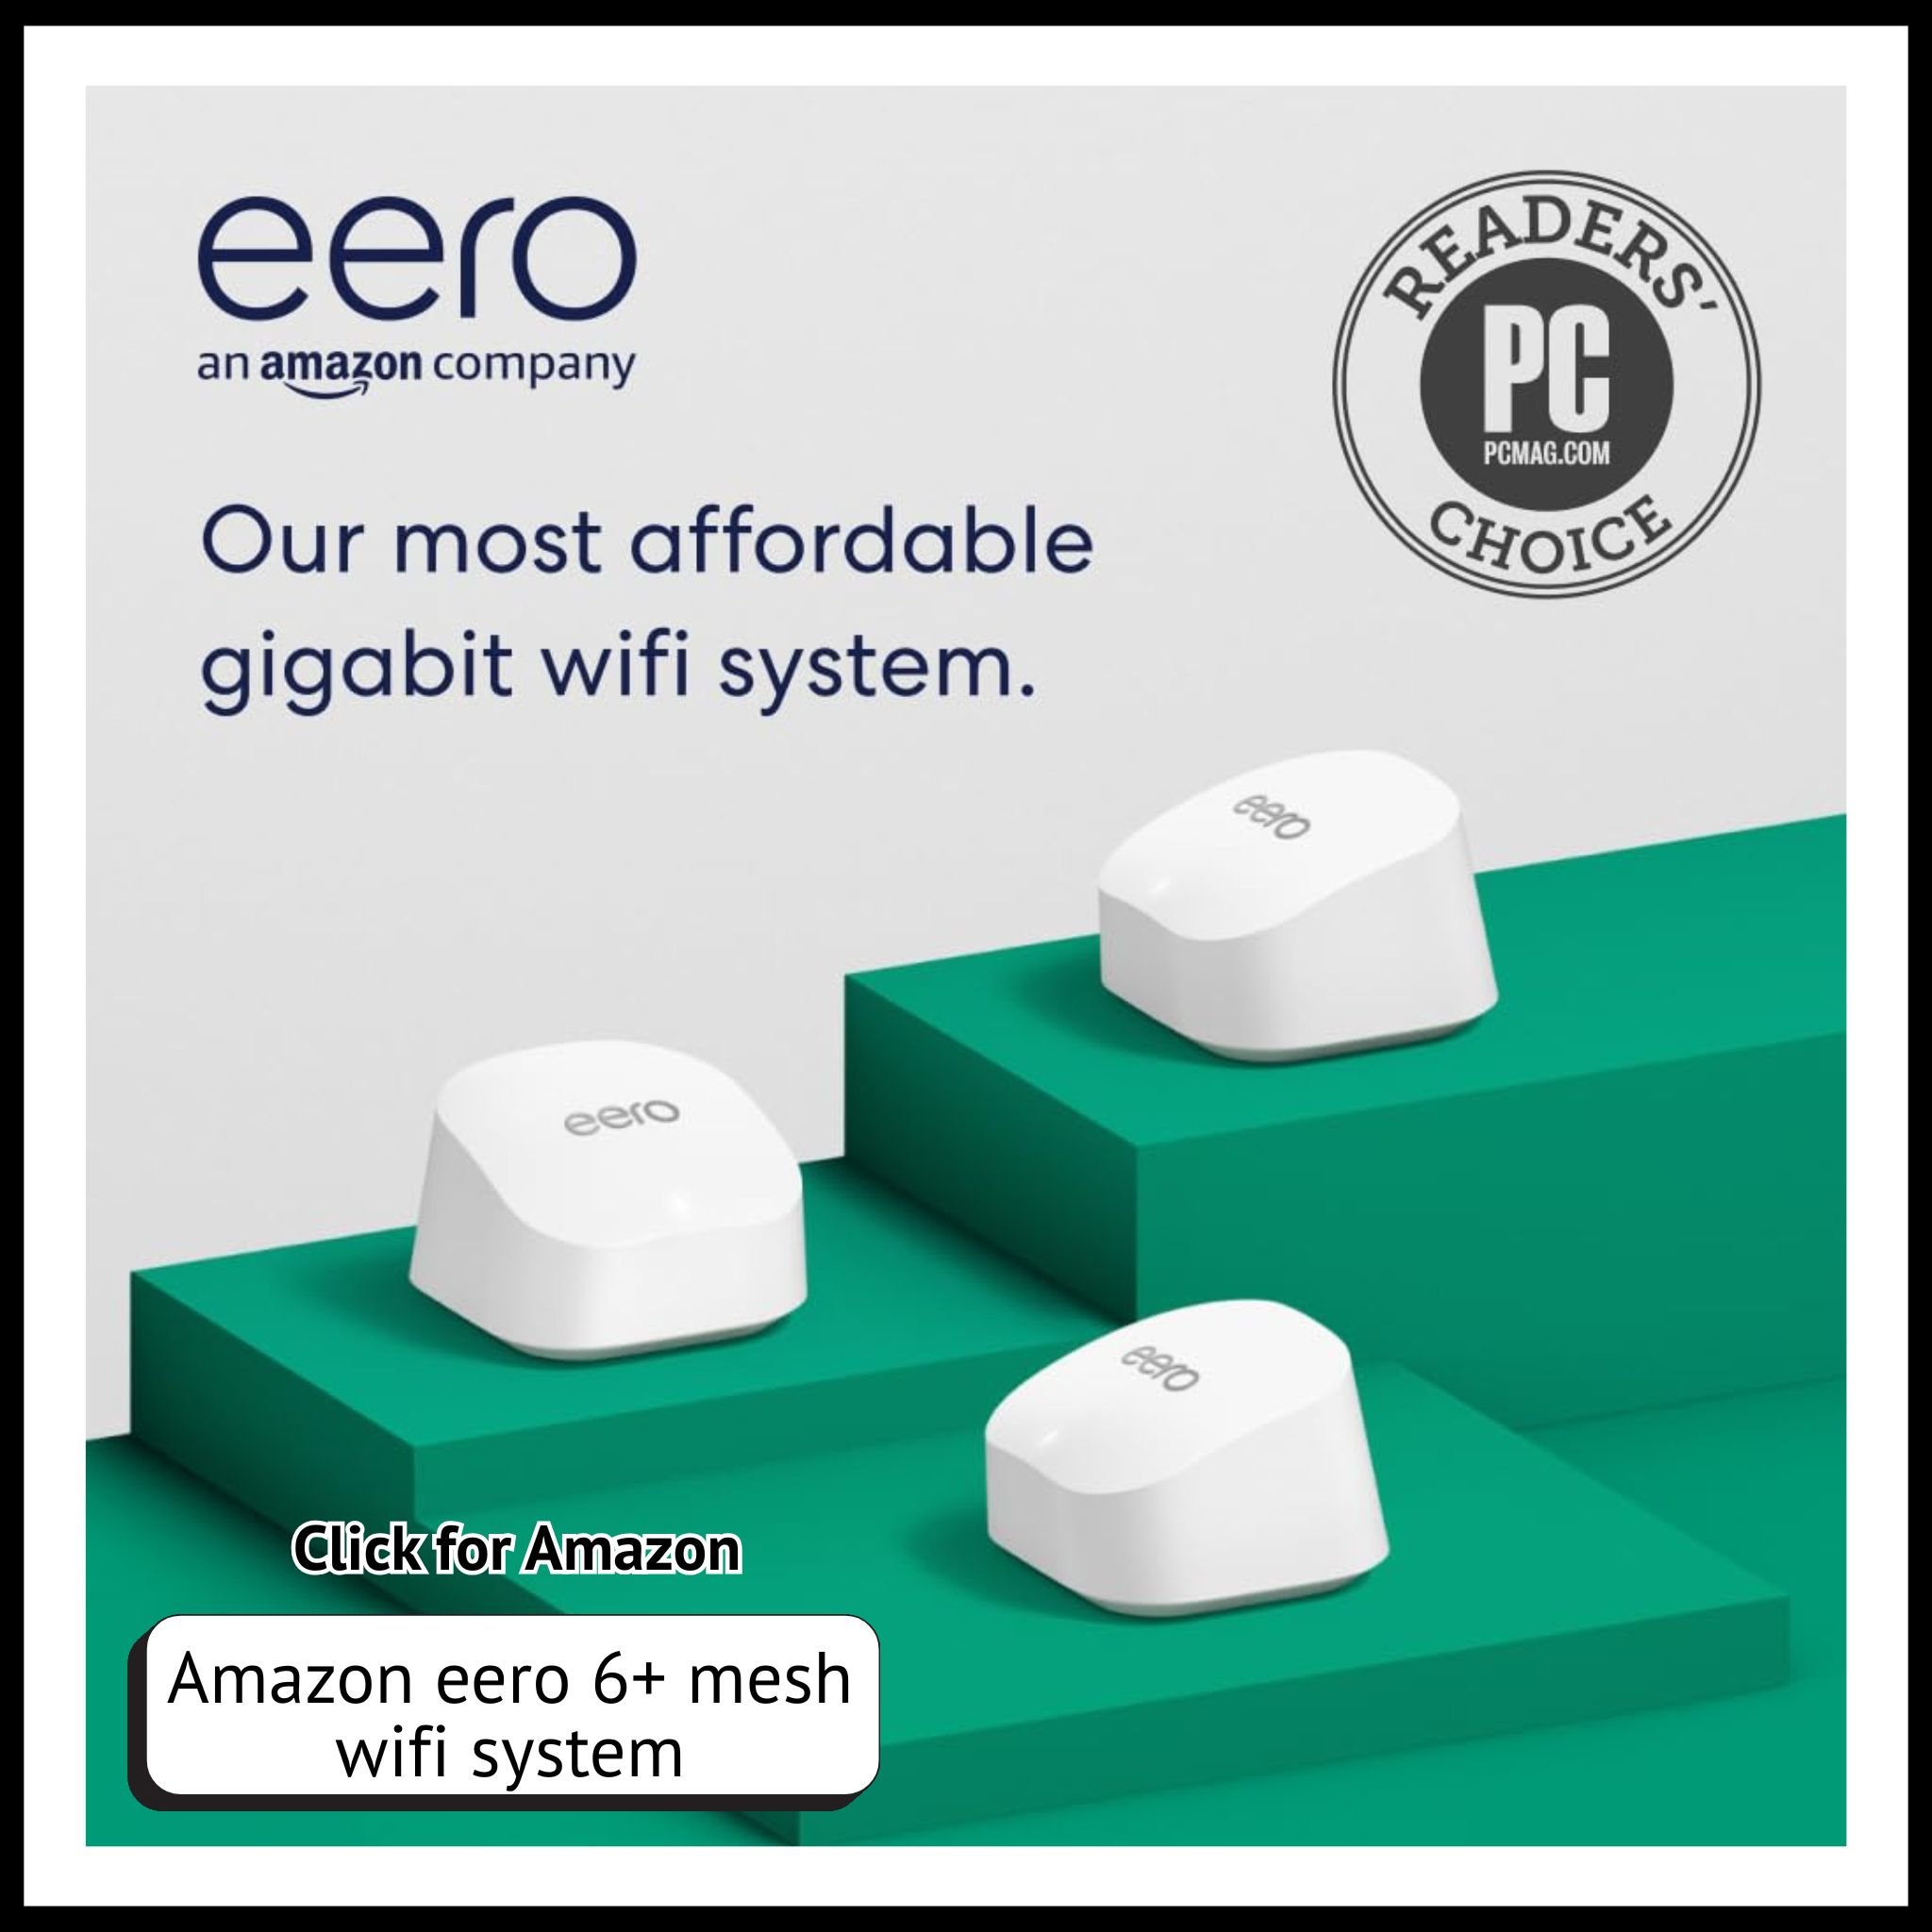
A Reliable Wi-Fi Network to ensure smooth communication between devices.
Explore Our Beginner’s Guide to Setting Up a Smart Home (Apple HomeKit & More)
Step 1: Set Up Your HomeKit Hub
A HomeKit hub allows you to control your devices remotely and create automation routines. You can use:
Apple TV (4th Gen or later) – Go to Settings > AirPlay & HomeKit > Set up as Home Hub.
HomePod or HomePod Mini – Automatically functions as a hub when added to HomeKit.
iPad (as a secondary hub) – Go to Settings > Home > Set up as Home Hub (keep it plugged in and connected to Wi-Fi).
Tip: A HomePod Mini is a great all-in-one hub that doubles as a smart speaker with Siri control.
Personal Note: If you have more than one hub (Apple TV and HomePod) one of the more recent updates allows you to choose which hub you want to be your main hub. This is helpful if you find that one of your hubs is more reliable than the others.
Step 2: Add Devices to HomeKit
Once your hub is set, start adding compatible smart devices:
Open the Home App on your iPhone or iPad.
Tap the ‘+’ in the top right corner and select Add Accessory.
Scan the HomeKit QR code on your smart device (or enter the code manually if needed).
Follow on-screen instructions to assign the device to a room.
Pro Tip: Naming devices and organizing them into rooms makes voice commands and automations much easier! I recommend coming up with a system that you use to name the devices so that they’re easy to remember and so that if you use voice commands Siri won’t get confused.
Step 3: Create Automation for Your Smart Home
HomeKit allows you to automate tasks based on triggers like time of day, location, or sensor activity. Here’s how to set up an automation:
In the Home App, tap Automation at the bottom.
Select Create New Automation.
Choose a trigger, such as:
Time-Based Automation (e.g., turn on lights at sunset).
Location-Based Automation (e.g., unlock door when arriving home).
Accessory-Based Automation (e.g., turn on fan when temperature rises above 75°F).
Select the devices and actions you want to automate.
Tap Done to save your automation.
Examples of HomeKit Automations:
“Good Morning” Scene: Lights turn on, thermostat adjusts, and blinds open when you wake up.
“Away Mode”: Locks doors, turns off lights, and enables security cameras when you leave.
“Nighttime Routine”: Dims lights, locks doors, and plays relaxing music at bedtime.
Step 4: Use Siri for Hands-Free Control
Once everything is set up, control your smart home effortlessly with Siri commands:
“Hey Siri, turn off the living room lights.”
“Hey Siri, set the thermostat to 72 degrees.”
“Hey Siri, lock the front door.”
Siri can also run entire scenes like “Hey Siri, goodnight” to execute multiple commands at once.
Step 5: Enhance Home Security with HomeKit
Apple HomeKit prioritizes security with end-to-end encryption. Consider adding these devices:
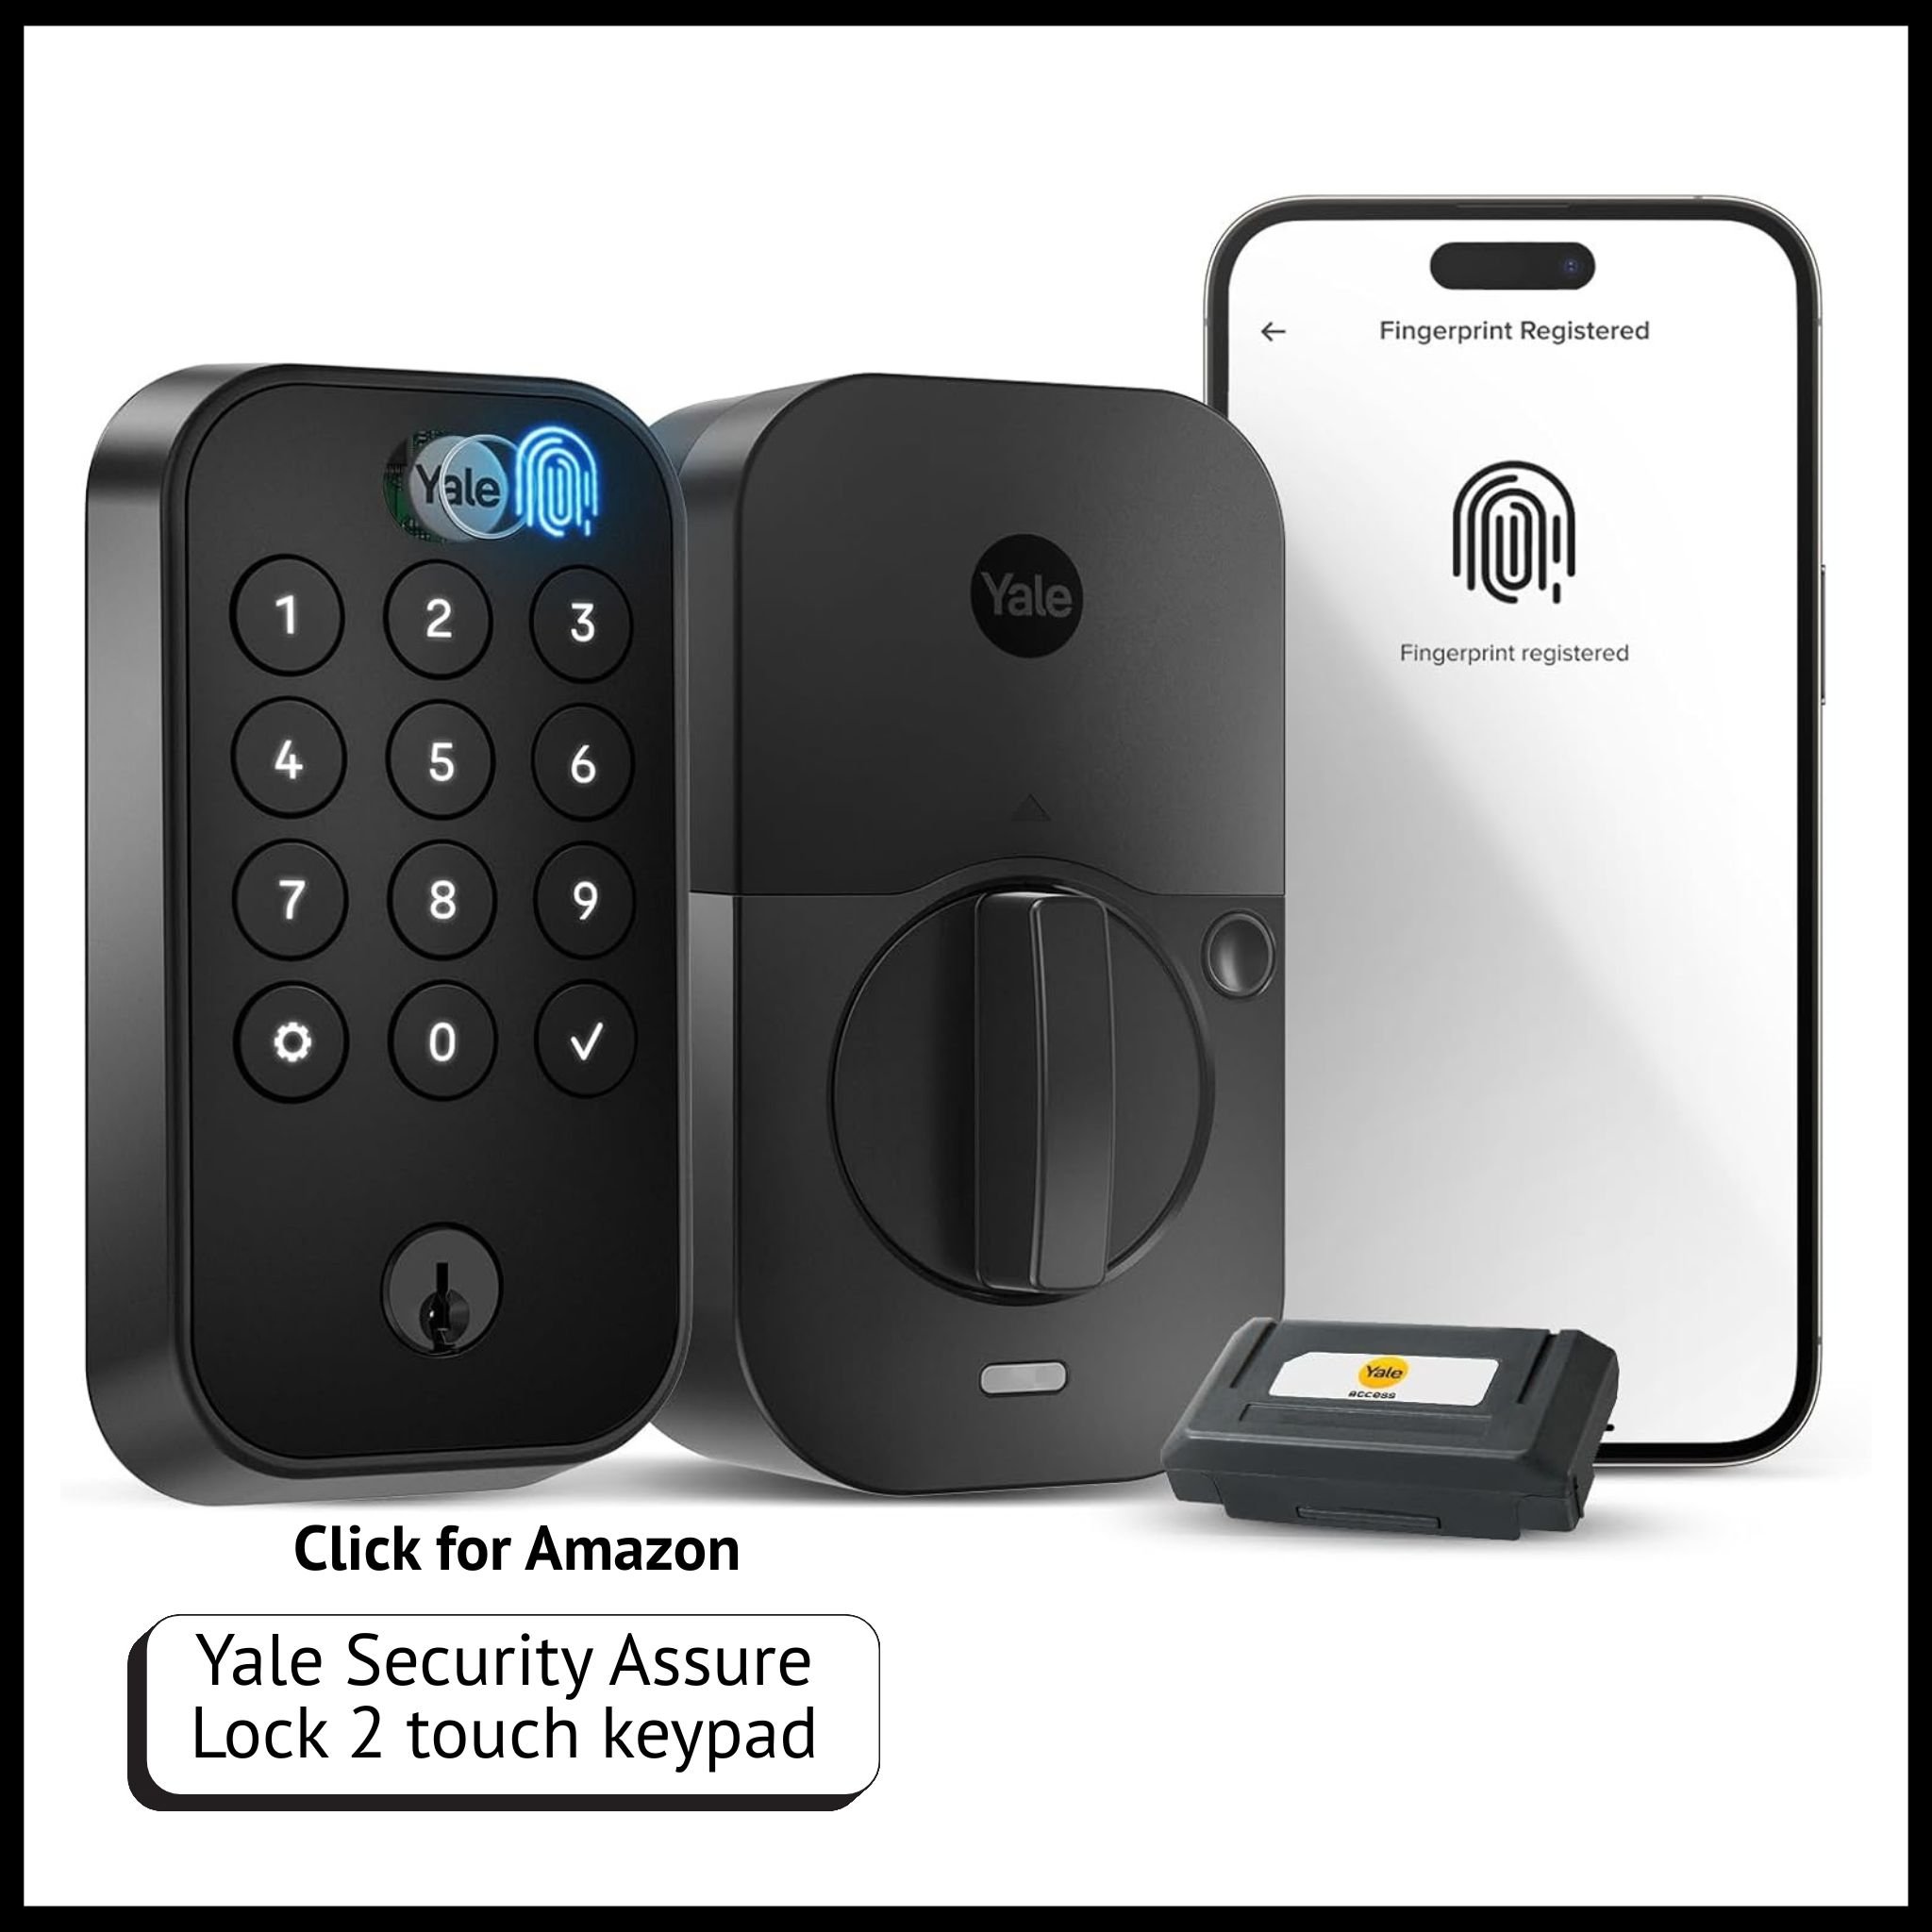
HomeKit-Compatible Smart Locks (like August Wi-Fi Smart Lock) for keyless entry.
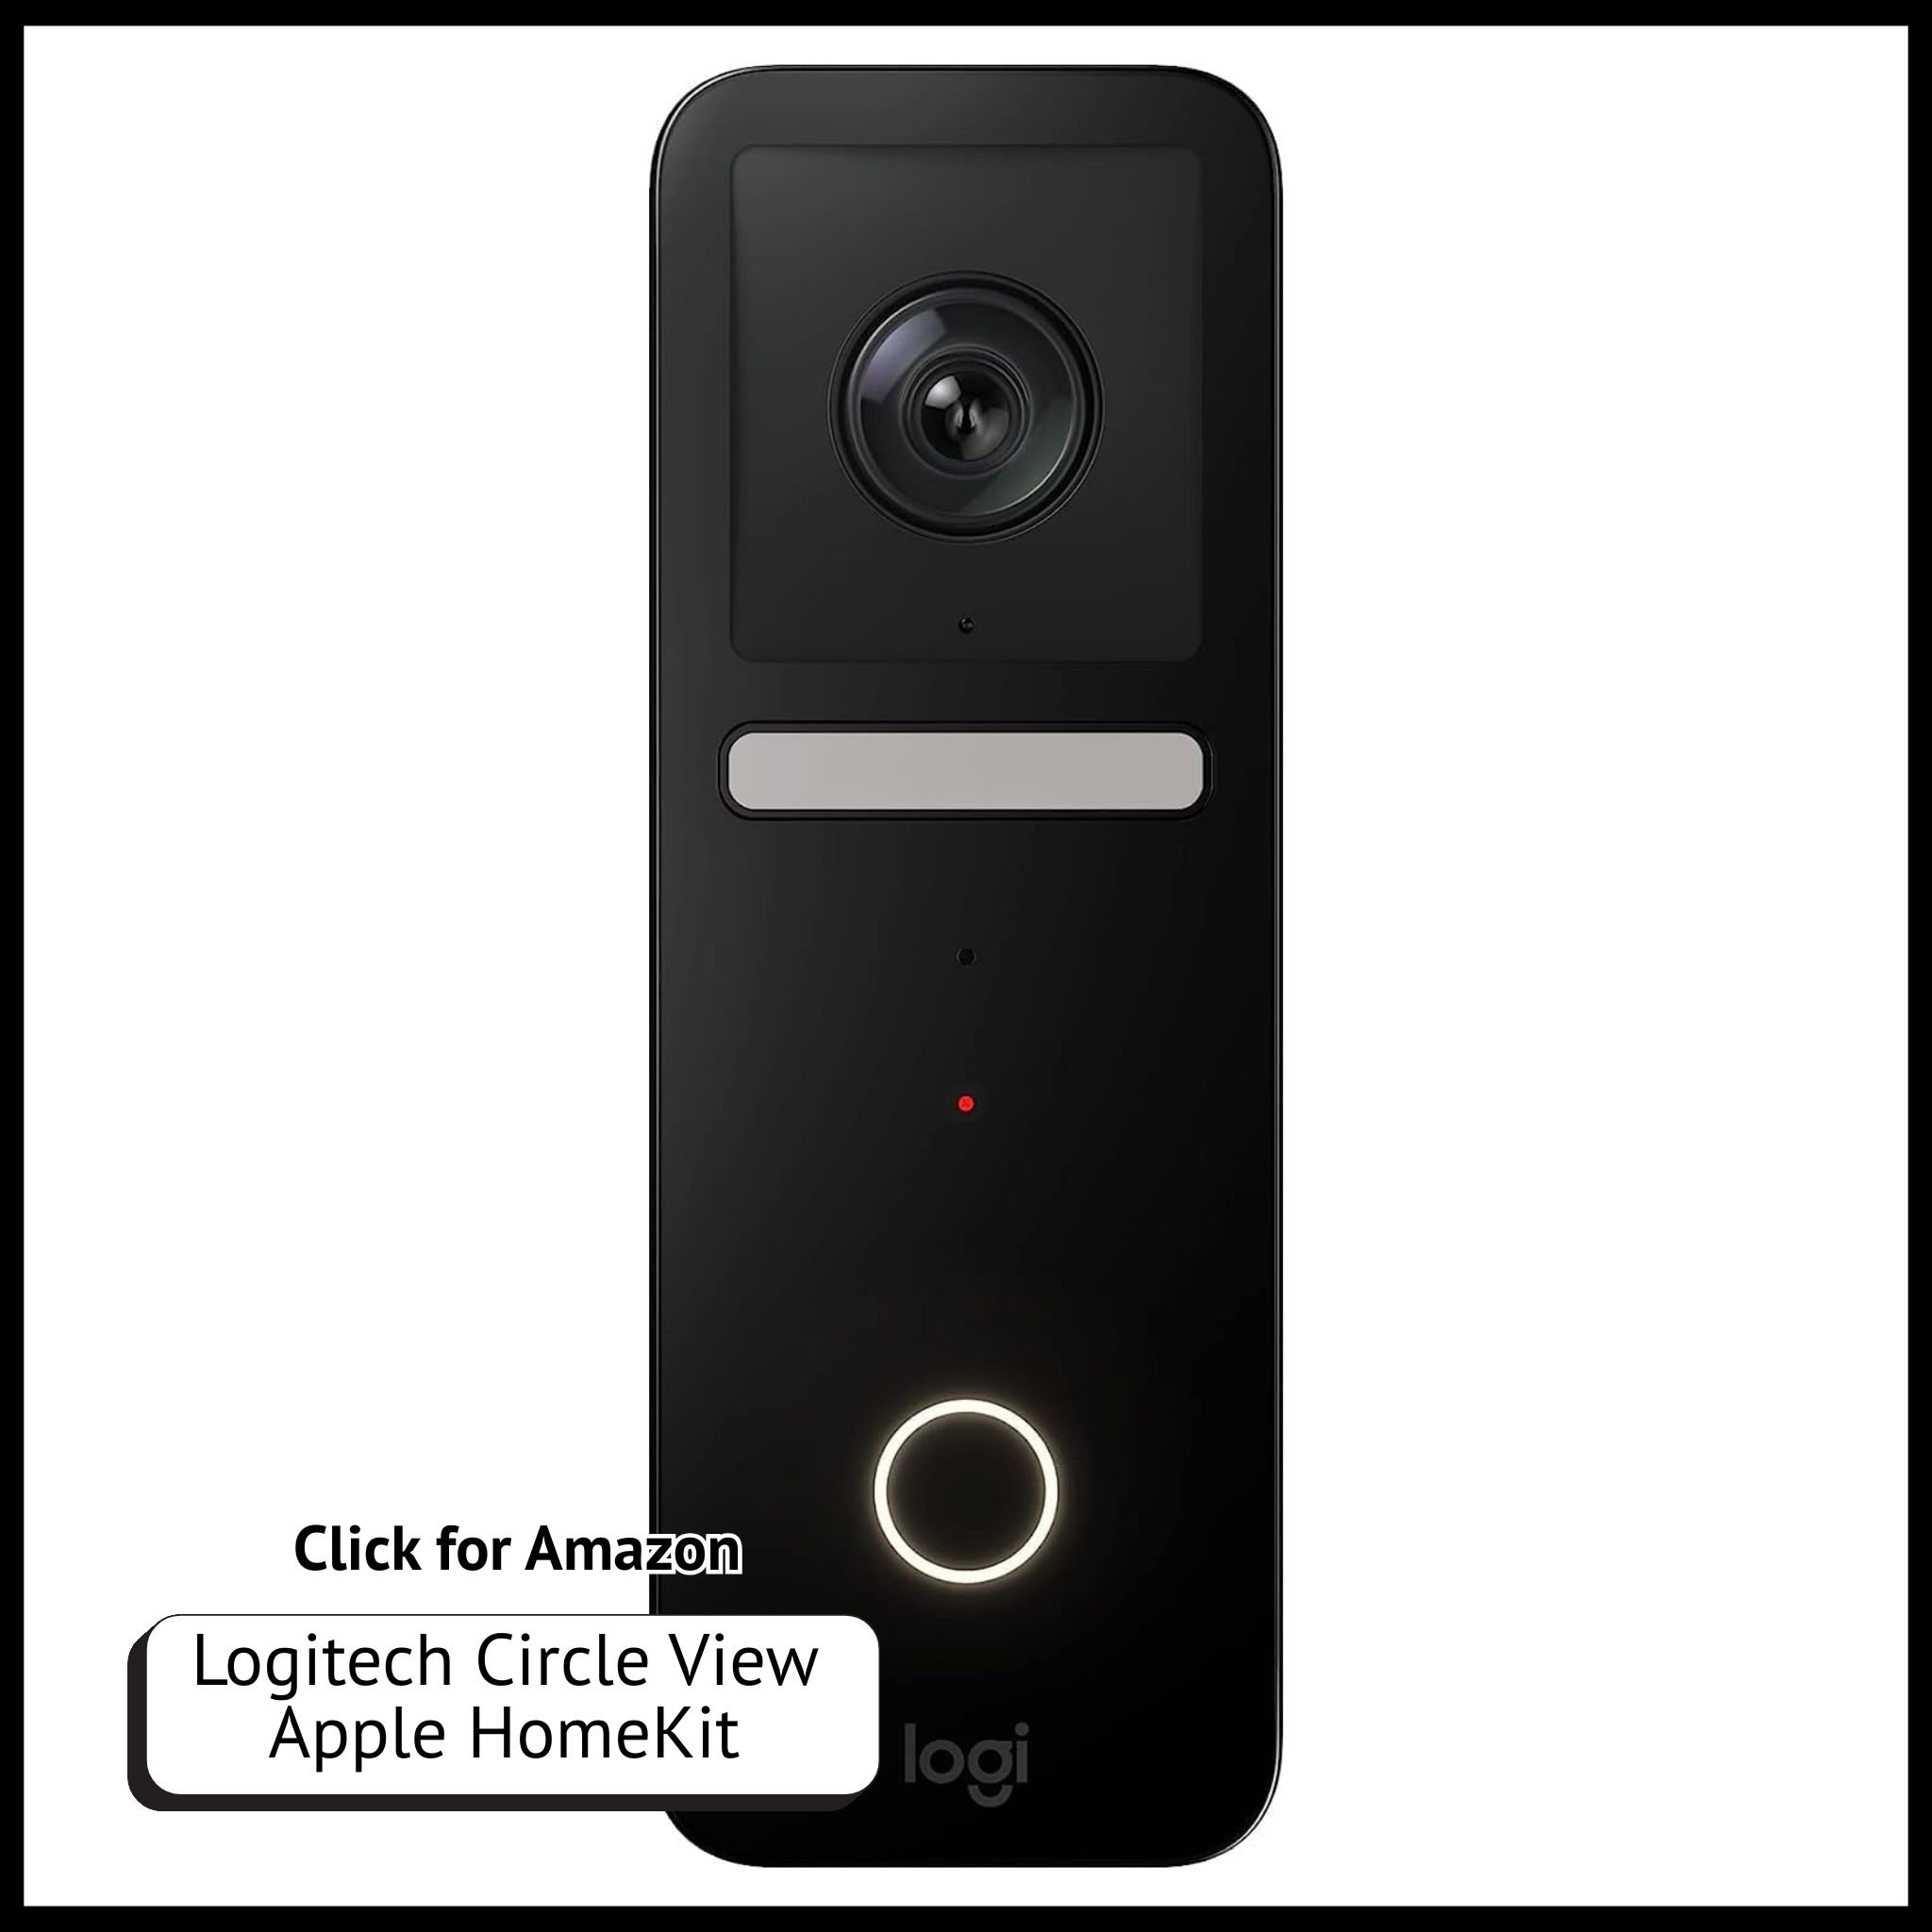
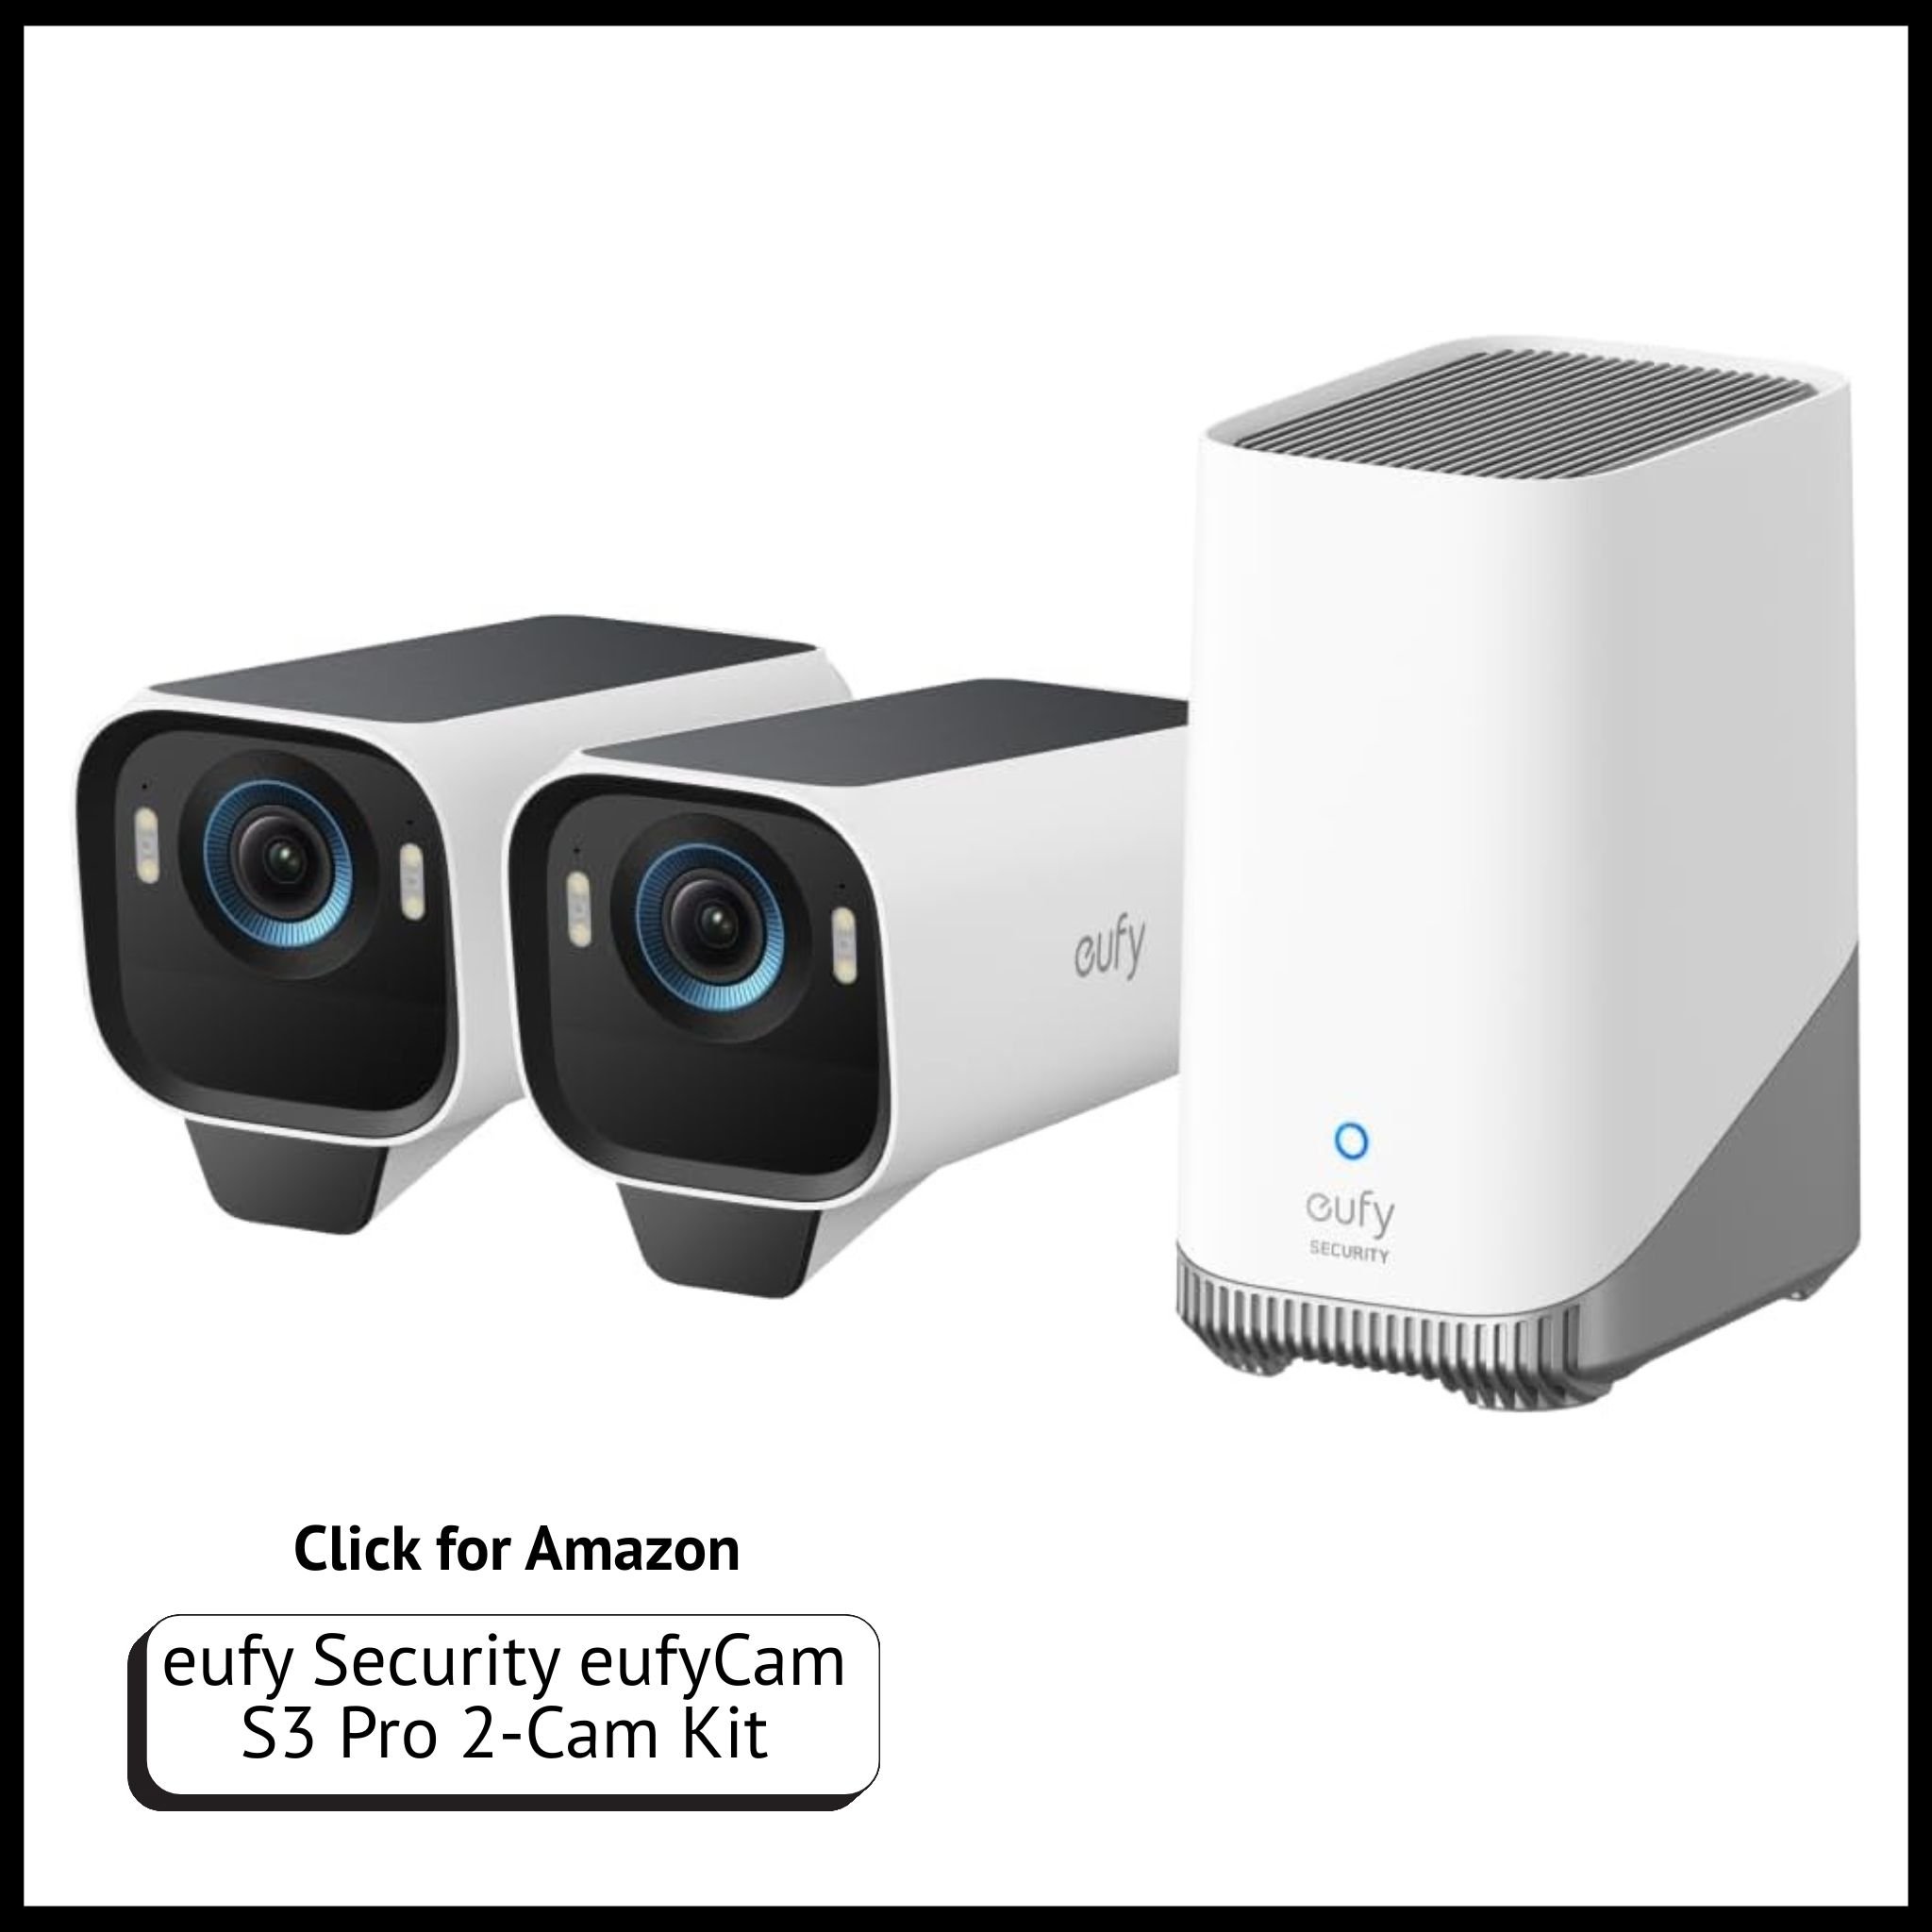
Security Cameras (like the EufyCam 2 or Logitech Circle View) for encrypted video monitoring.
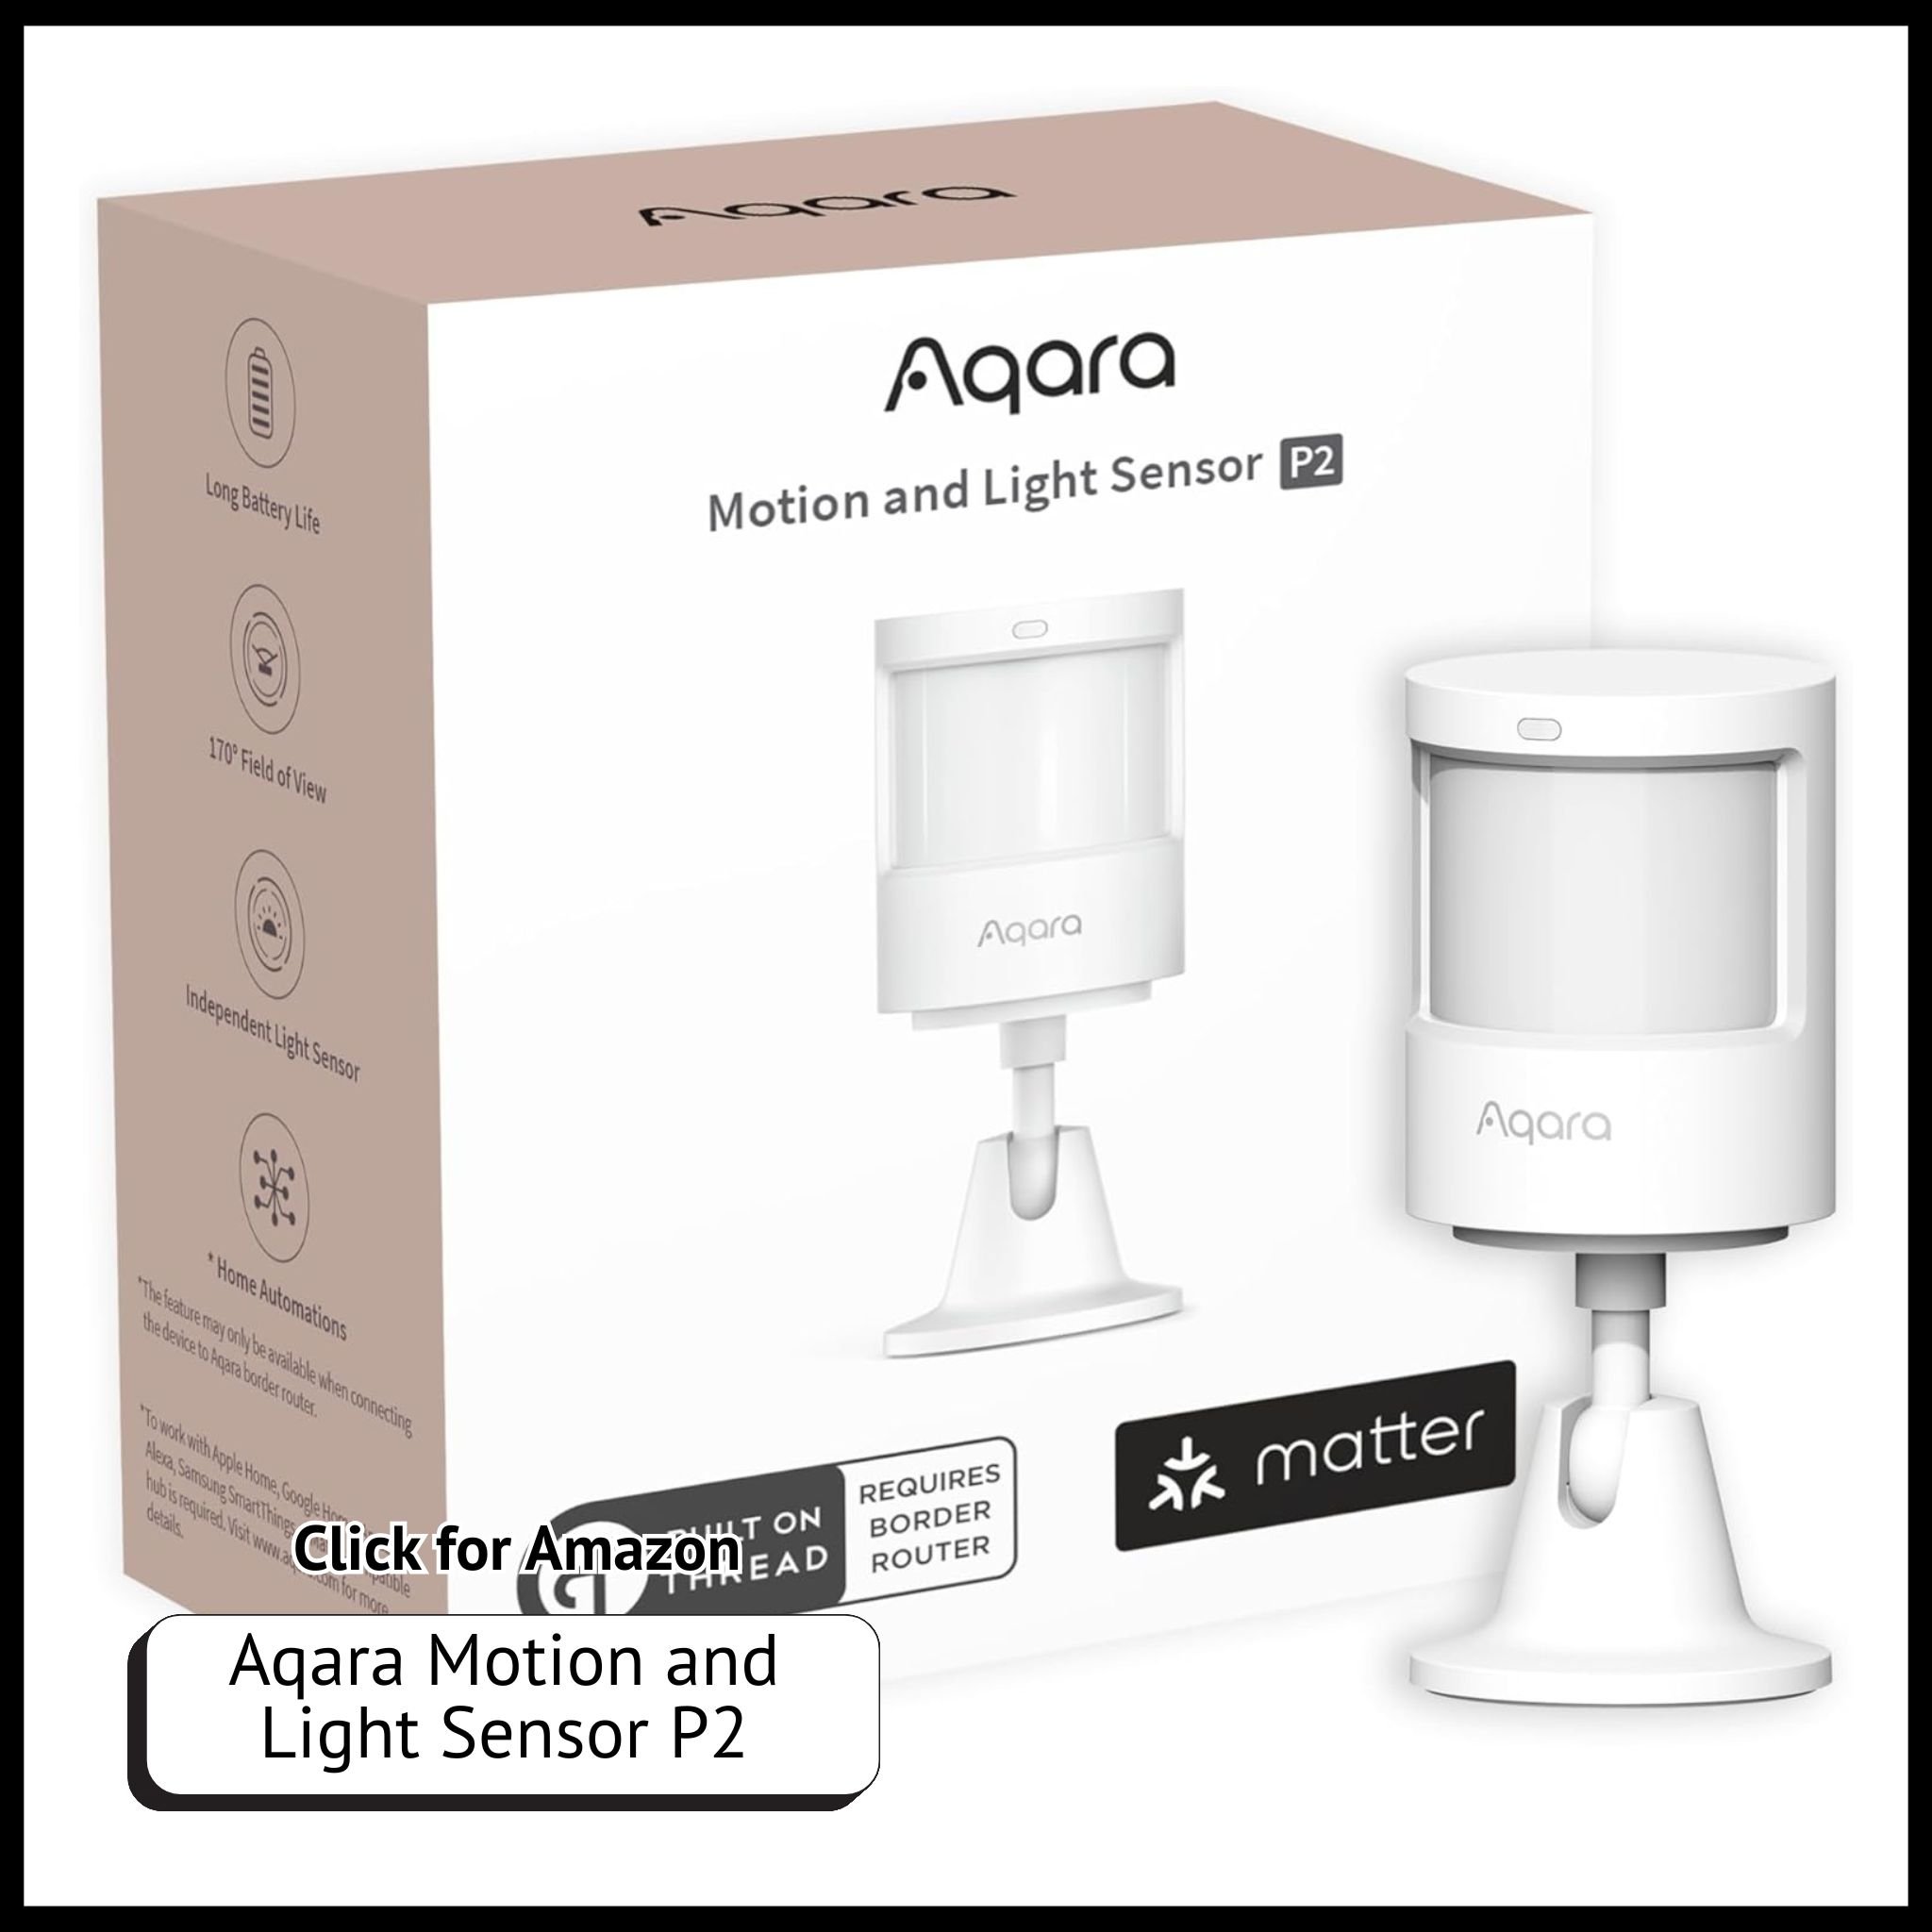
Motion Sensors to trigger lights and notifications for added security.
Door and Window Sensors to alert you if an entry point is accessed unexpectedly.
Bonus: Expand Your Smart Home Over Time
HomeKit supports a wide range of devices, so you can build your smart home gradually.
Consider adding:
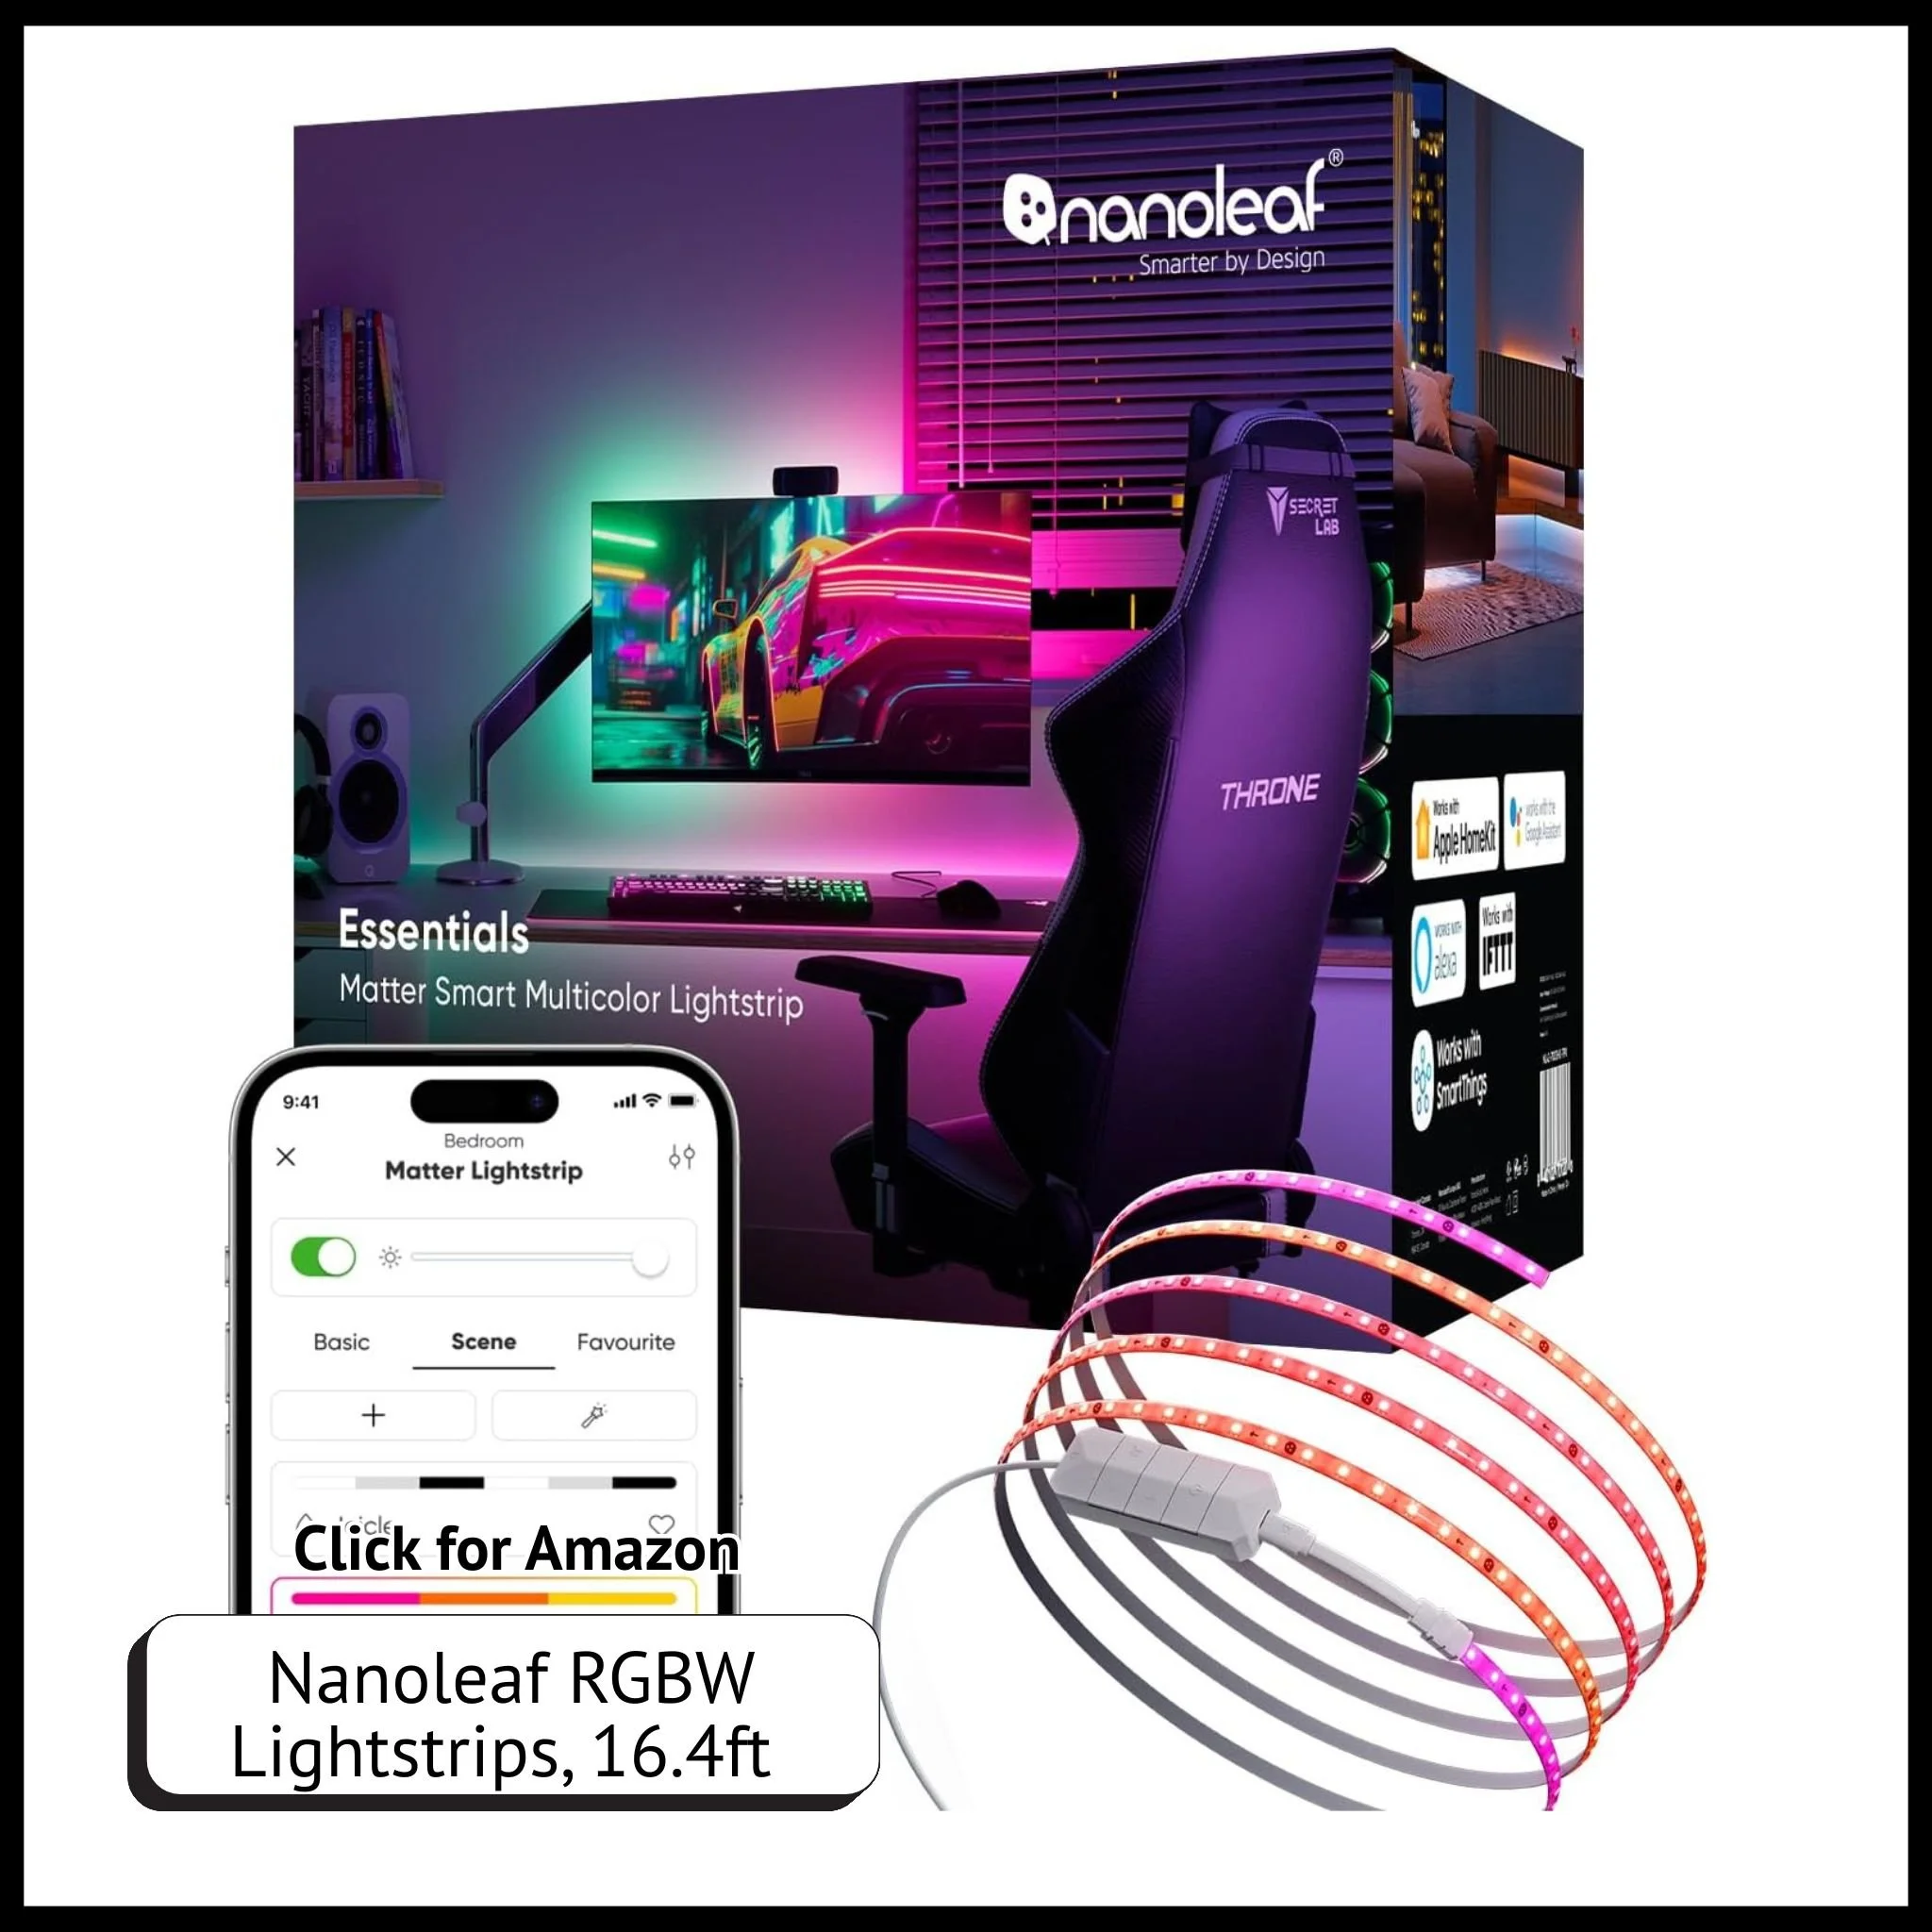
Smart Light Bulbs & LED Strips (Philips Hue, Nanoleaf, LIFX)
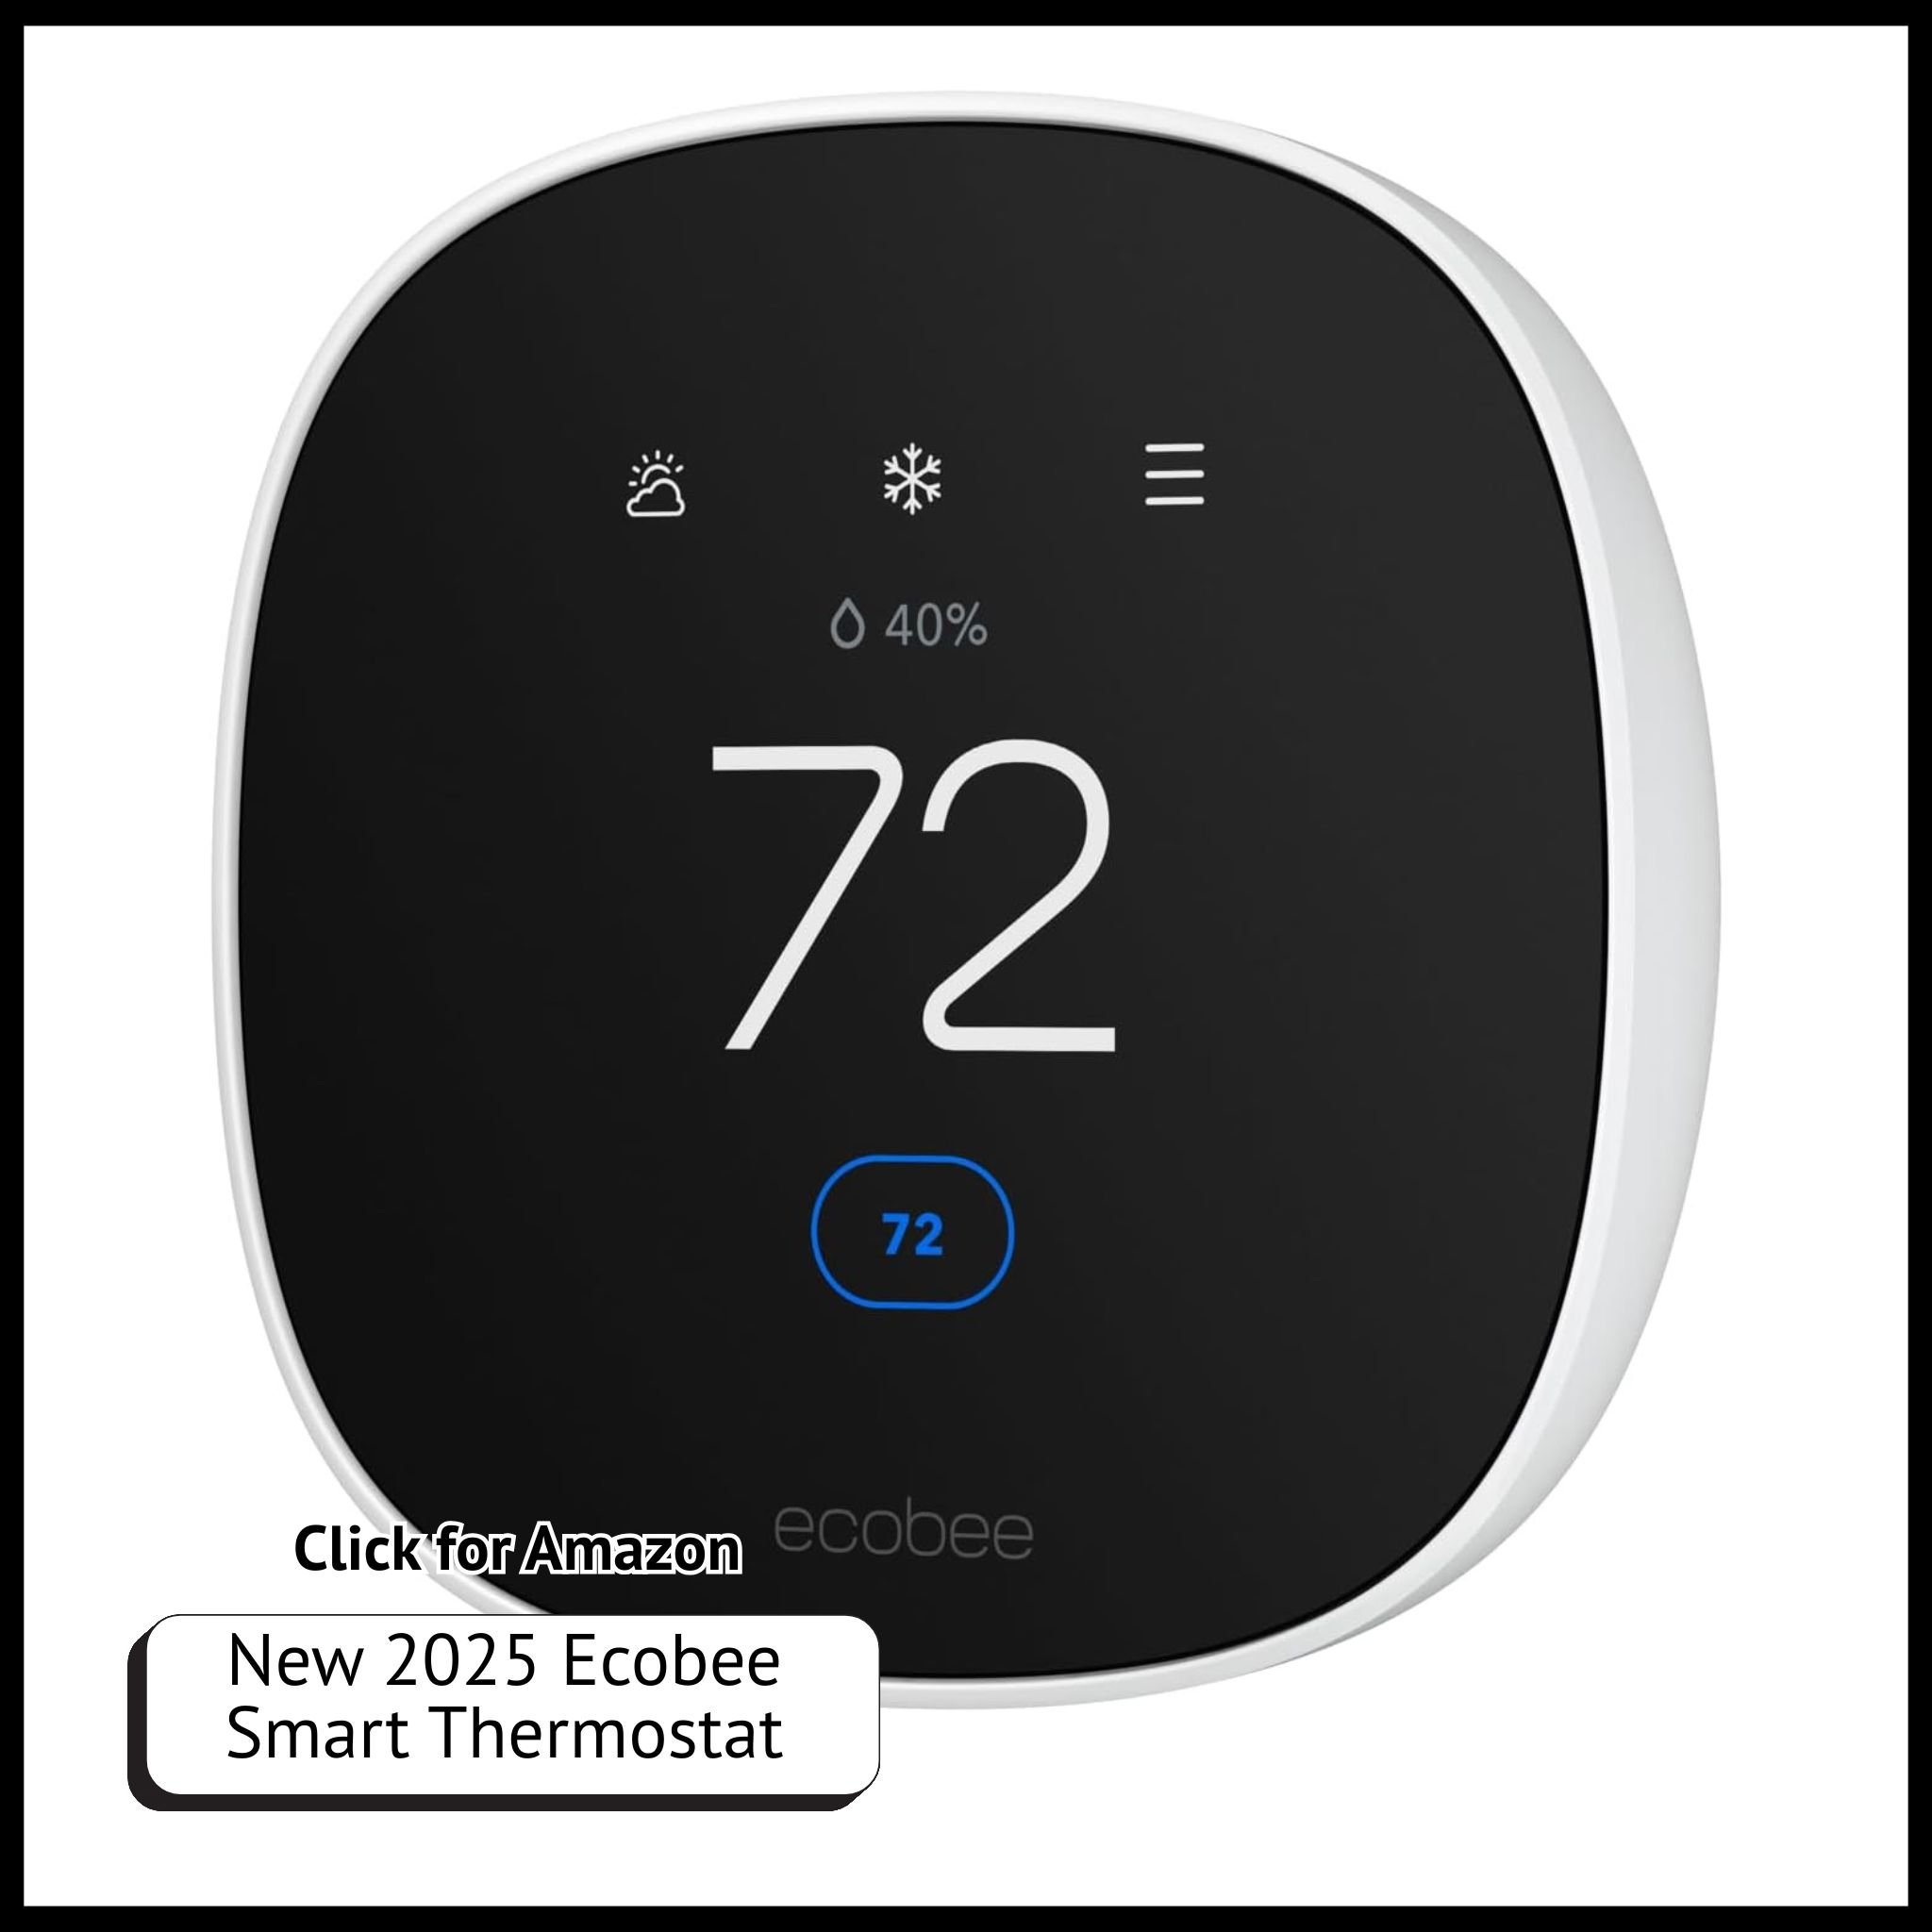
Smart Thermostats (Ecobee, Honeywell T9)
Smart Plugs (Eve Energy, Wemo Mini, Kasa) to automate non-smart appliances
HomeKit-Compatible Ceiling Fan Control and Dimmer Switch for climate control
Smart Blinds or Motorized Roller shades (Serena by Lutron) for automated window coverings
Final Thoughts: Why HomeKit is the Best for Apple Users
Apple HomeKit offers seamless integration, strong privacy features, and easy voice control with Siri. With a well-organized setup and automation routines, you can create a home that works smarter, not harder. It’s easier than ever before to find quality products ever since Matter (universal standard) has been added to HomeKit and smart devices allowing more products to work seamlessly within Apple’s Home app natively, taking advantage of its privacy first mindset.
Ready to start your HomeKit journey? Share your favorite automations in the comments below!
Shop This Post:


Check out these other related Posts for Smart Home Enthusiasts:
Don't miss out! Sign up to receive news and updates
Unlock More