Beginner’s Guide to Setting Up a Smart Home (Apple HomeKit & More)
When you buy through our links, we may earn a commission.
Why Start a Smart Home?
A smart home adds convenience, automation, and energy efficiency to daily life. From controlling lights with your voice to automating routines and enhancing security, setting up a smart home can make everyday tasks much simpler. If you're just getting started, this beginner-friendly guide walks you through the setup using popular products like the Apple HomePod Mini, Wemo smart plugs, Nanoleaf lighting, a bathroom light sensor, and a Google Nest device.
Step 1: Choose Your Smart Home Ecosystem
Before you begin connecting devices, choose an ecosystem—Apple HomeKit, Google Home, or Amazon Alexa are the most common. Each has its strengths. For homes with mostly Apple devices, HomeKit offers seamless integration. If you already use products like the Google Nest, adding Google Home may enhance functionality.
While it's possible to mix ecosystems, sticking to one can simplify automation and voice commands. This guide leans into HomeKit but includes ways to incorporate Google Home where useful.
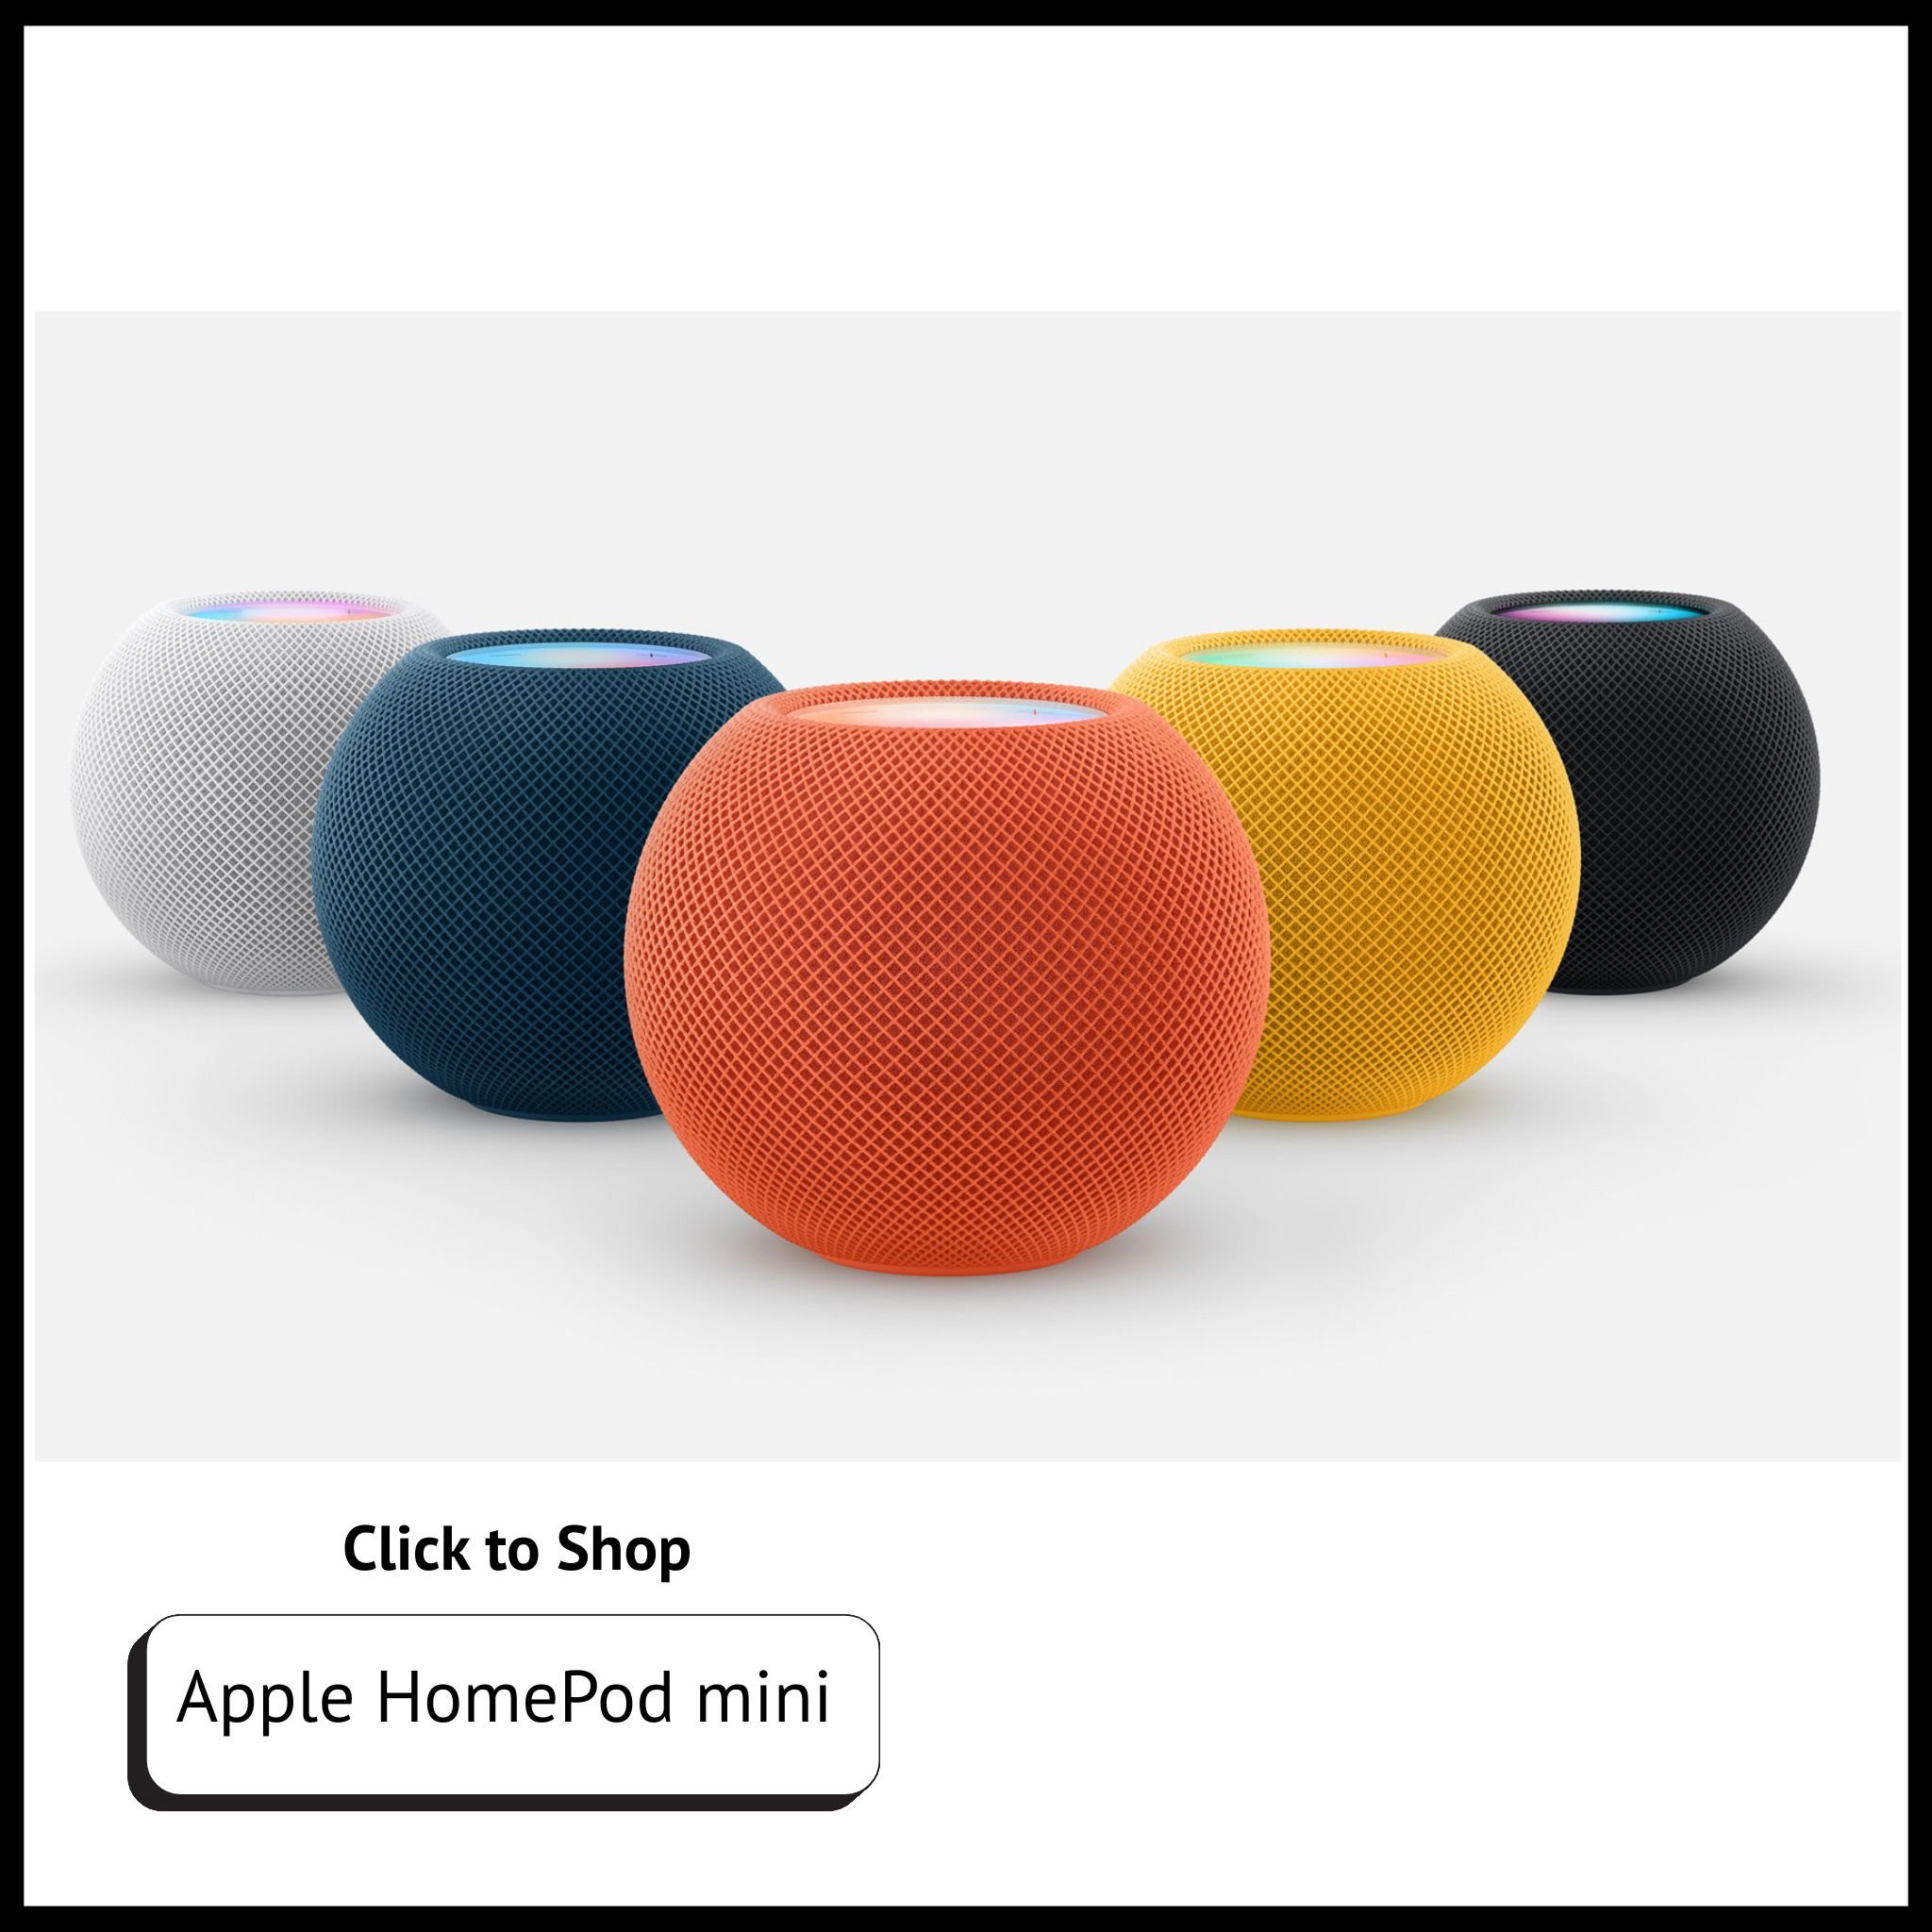
Step 2: Set Up Your Apple HomePod Mini (Your Smart Hub)
The Apple HomePod Mini acts as your HomeKit hub, enabling voice control and automations through Siri.
Here’s how to set it up:
Plug in the HomePod Mini and use the Apple Home app on your iPhone or iPad.
Make sure Wi-Fi and Bluetooth are enabled on your device.
Assign the HomePod Mini to a room and enable "Hey Siri" for hands-free control.
This hub will serve as your command center for managing compatible devices throughout your home.
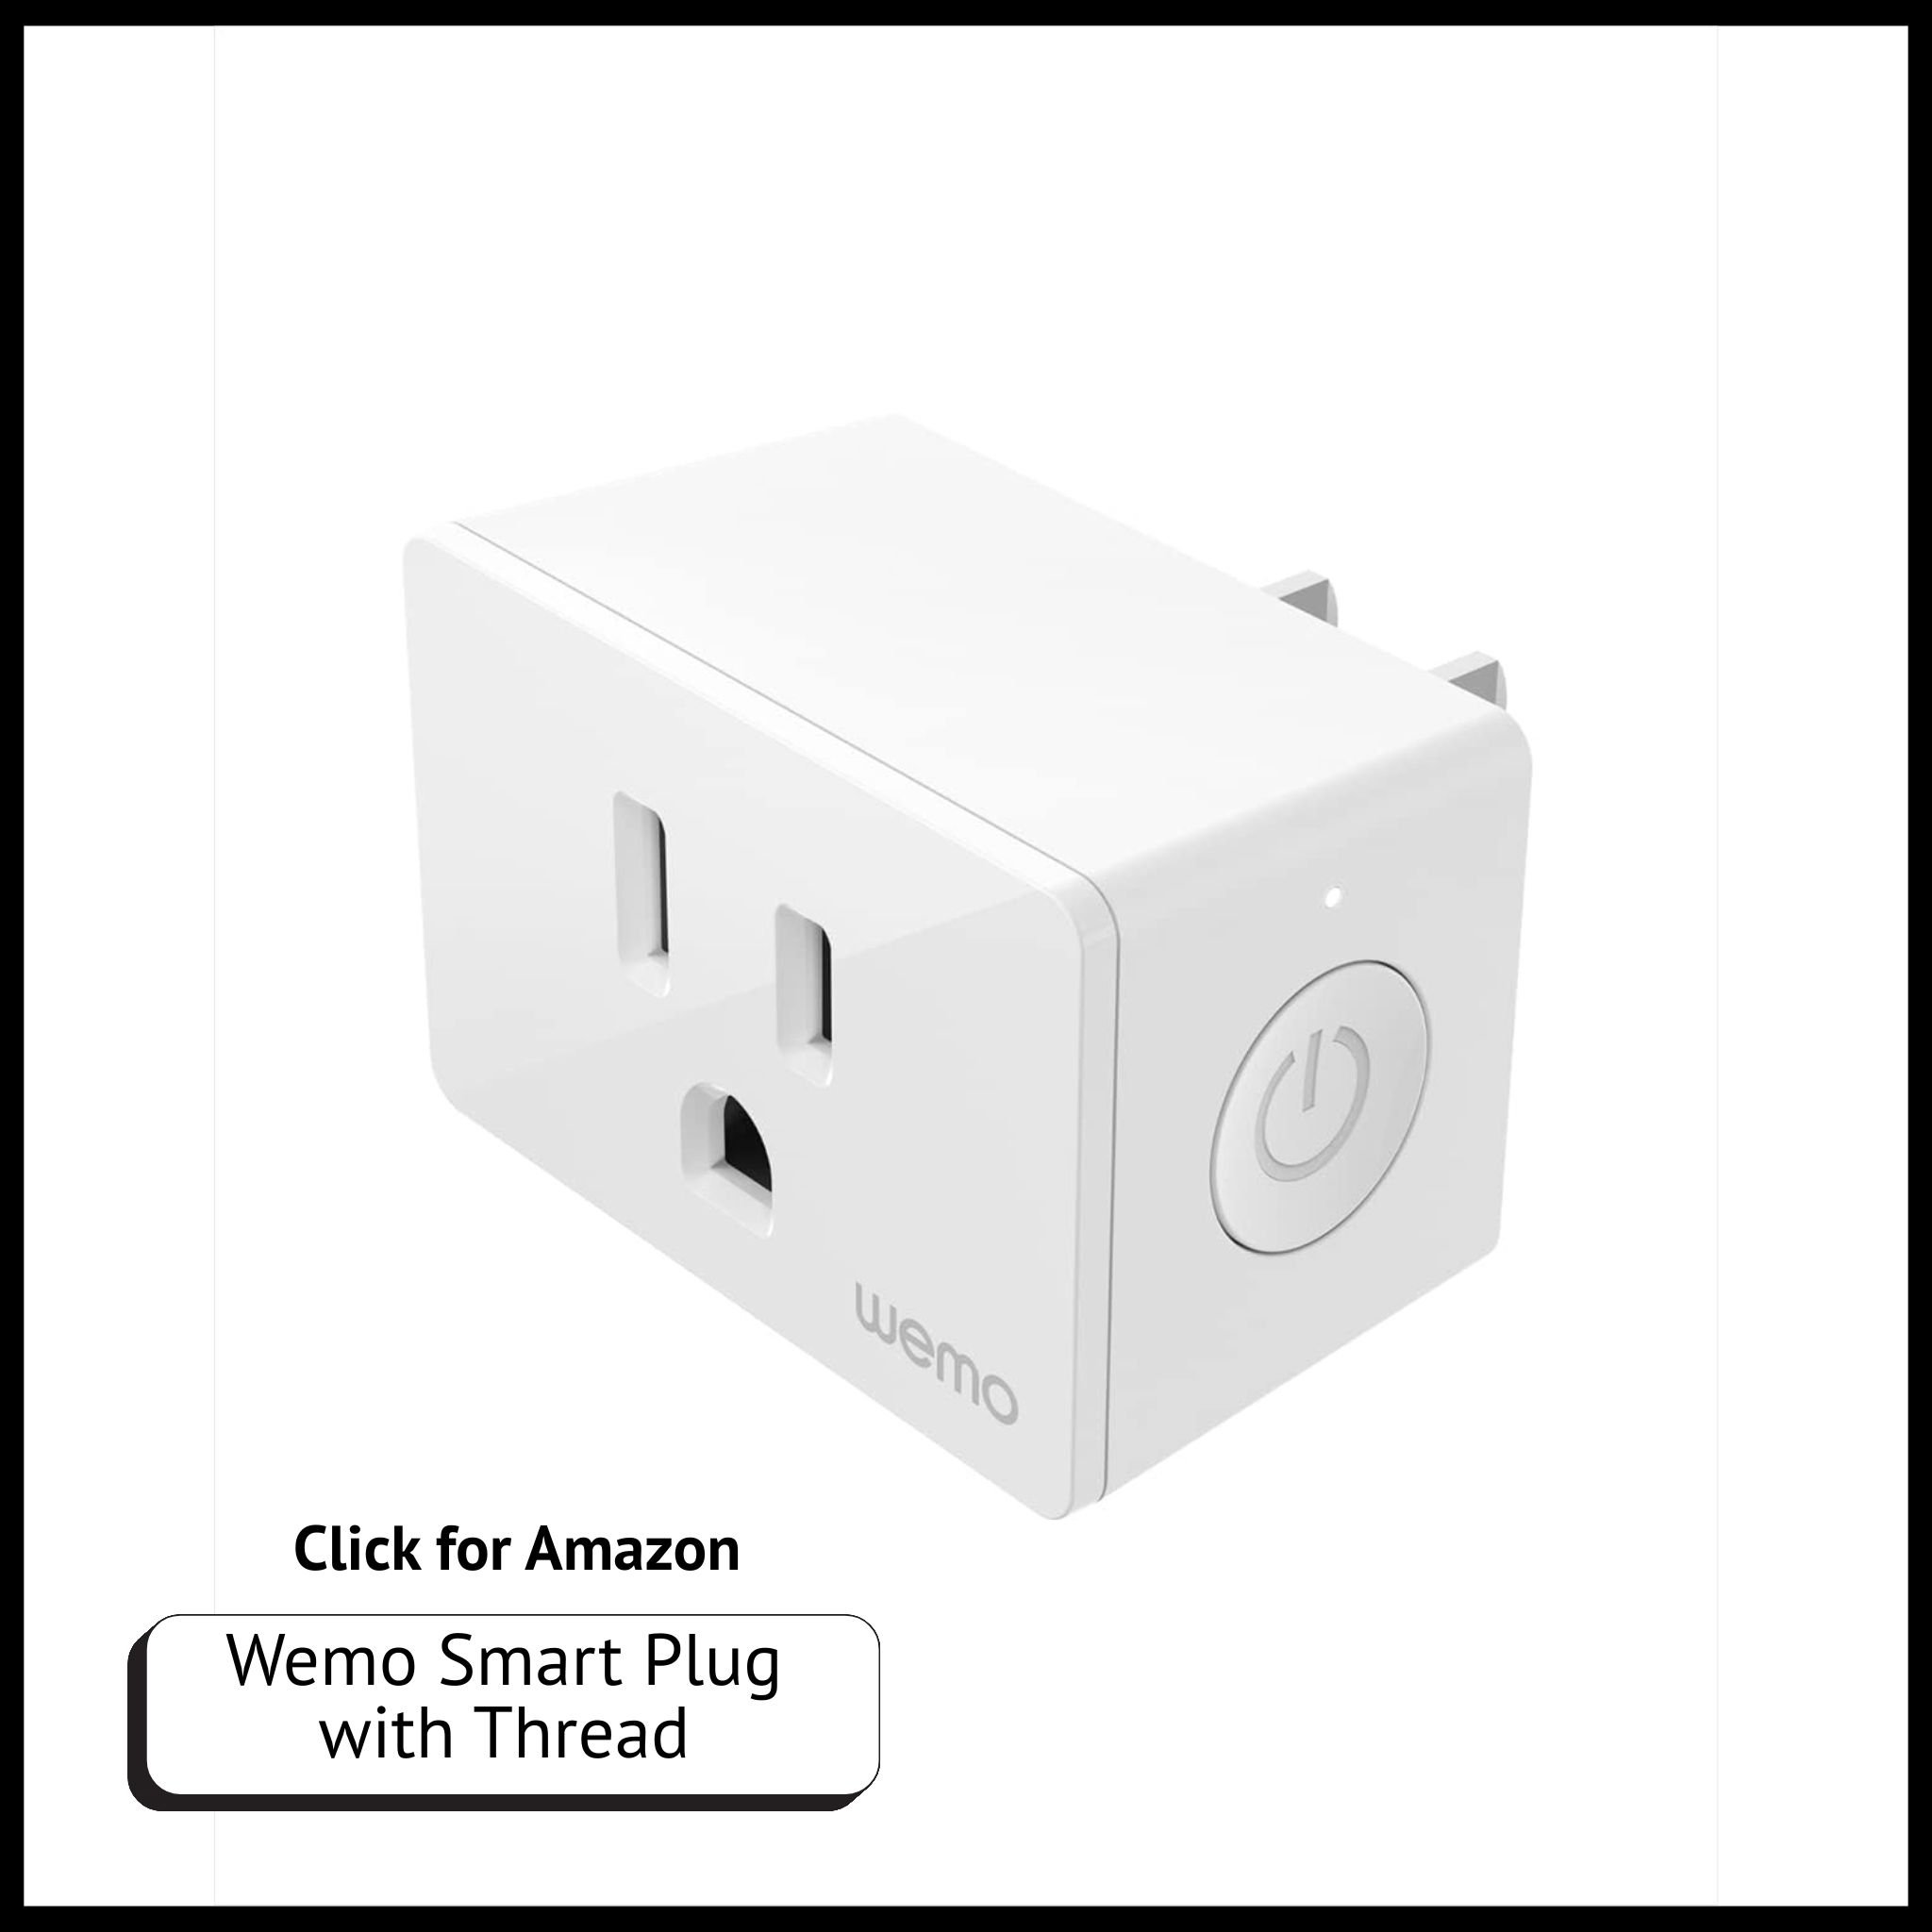
Step 3: Use Wemo Smart Plugs for Easy Automation
Smart plugs are a great entry point into home automation. With Wemo smart plugs, you can control lamps, coffee makers, fans, and more.
To set them up:
Plug in the Wemo Smart Plug and connect it using the Wemo app.
Add the plug to Apple HomeKit for voice control.
Create automations like turning off plugs at bedtime or switching on a lamp in the morning.
If using Google Home, you can also link Wemo through the Google Home app.
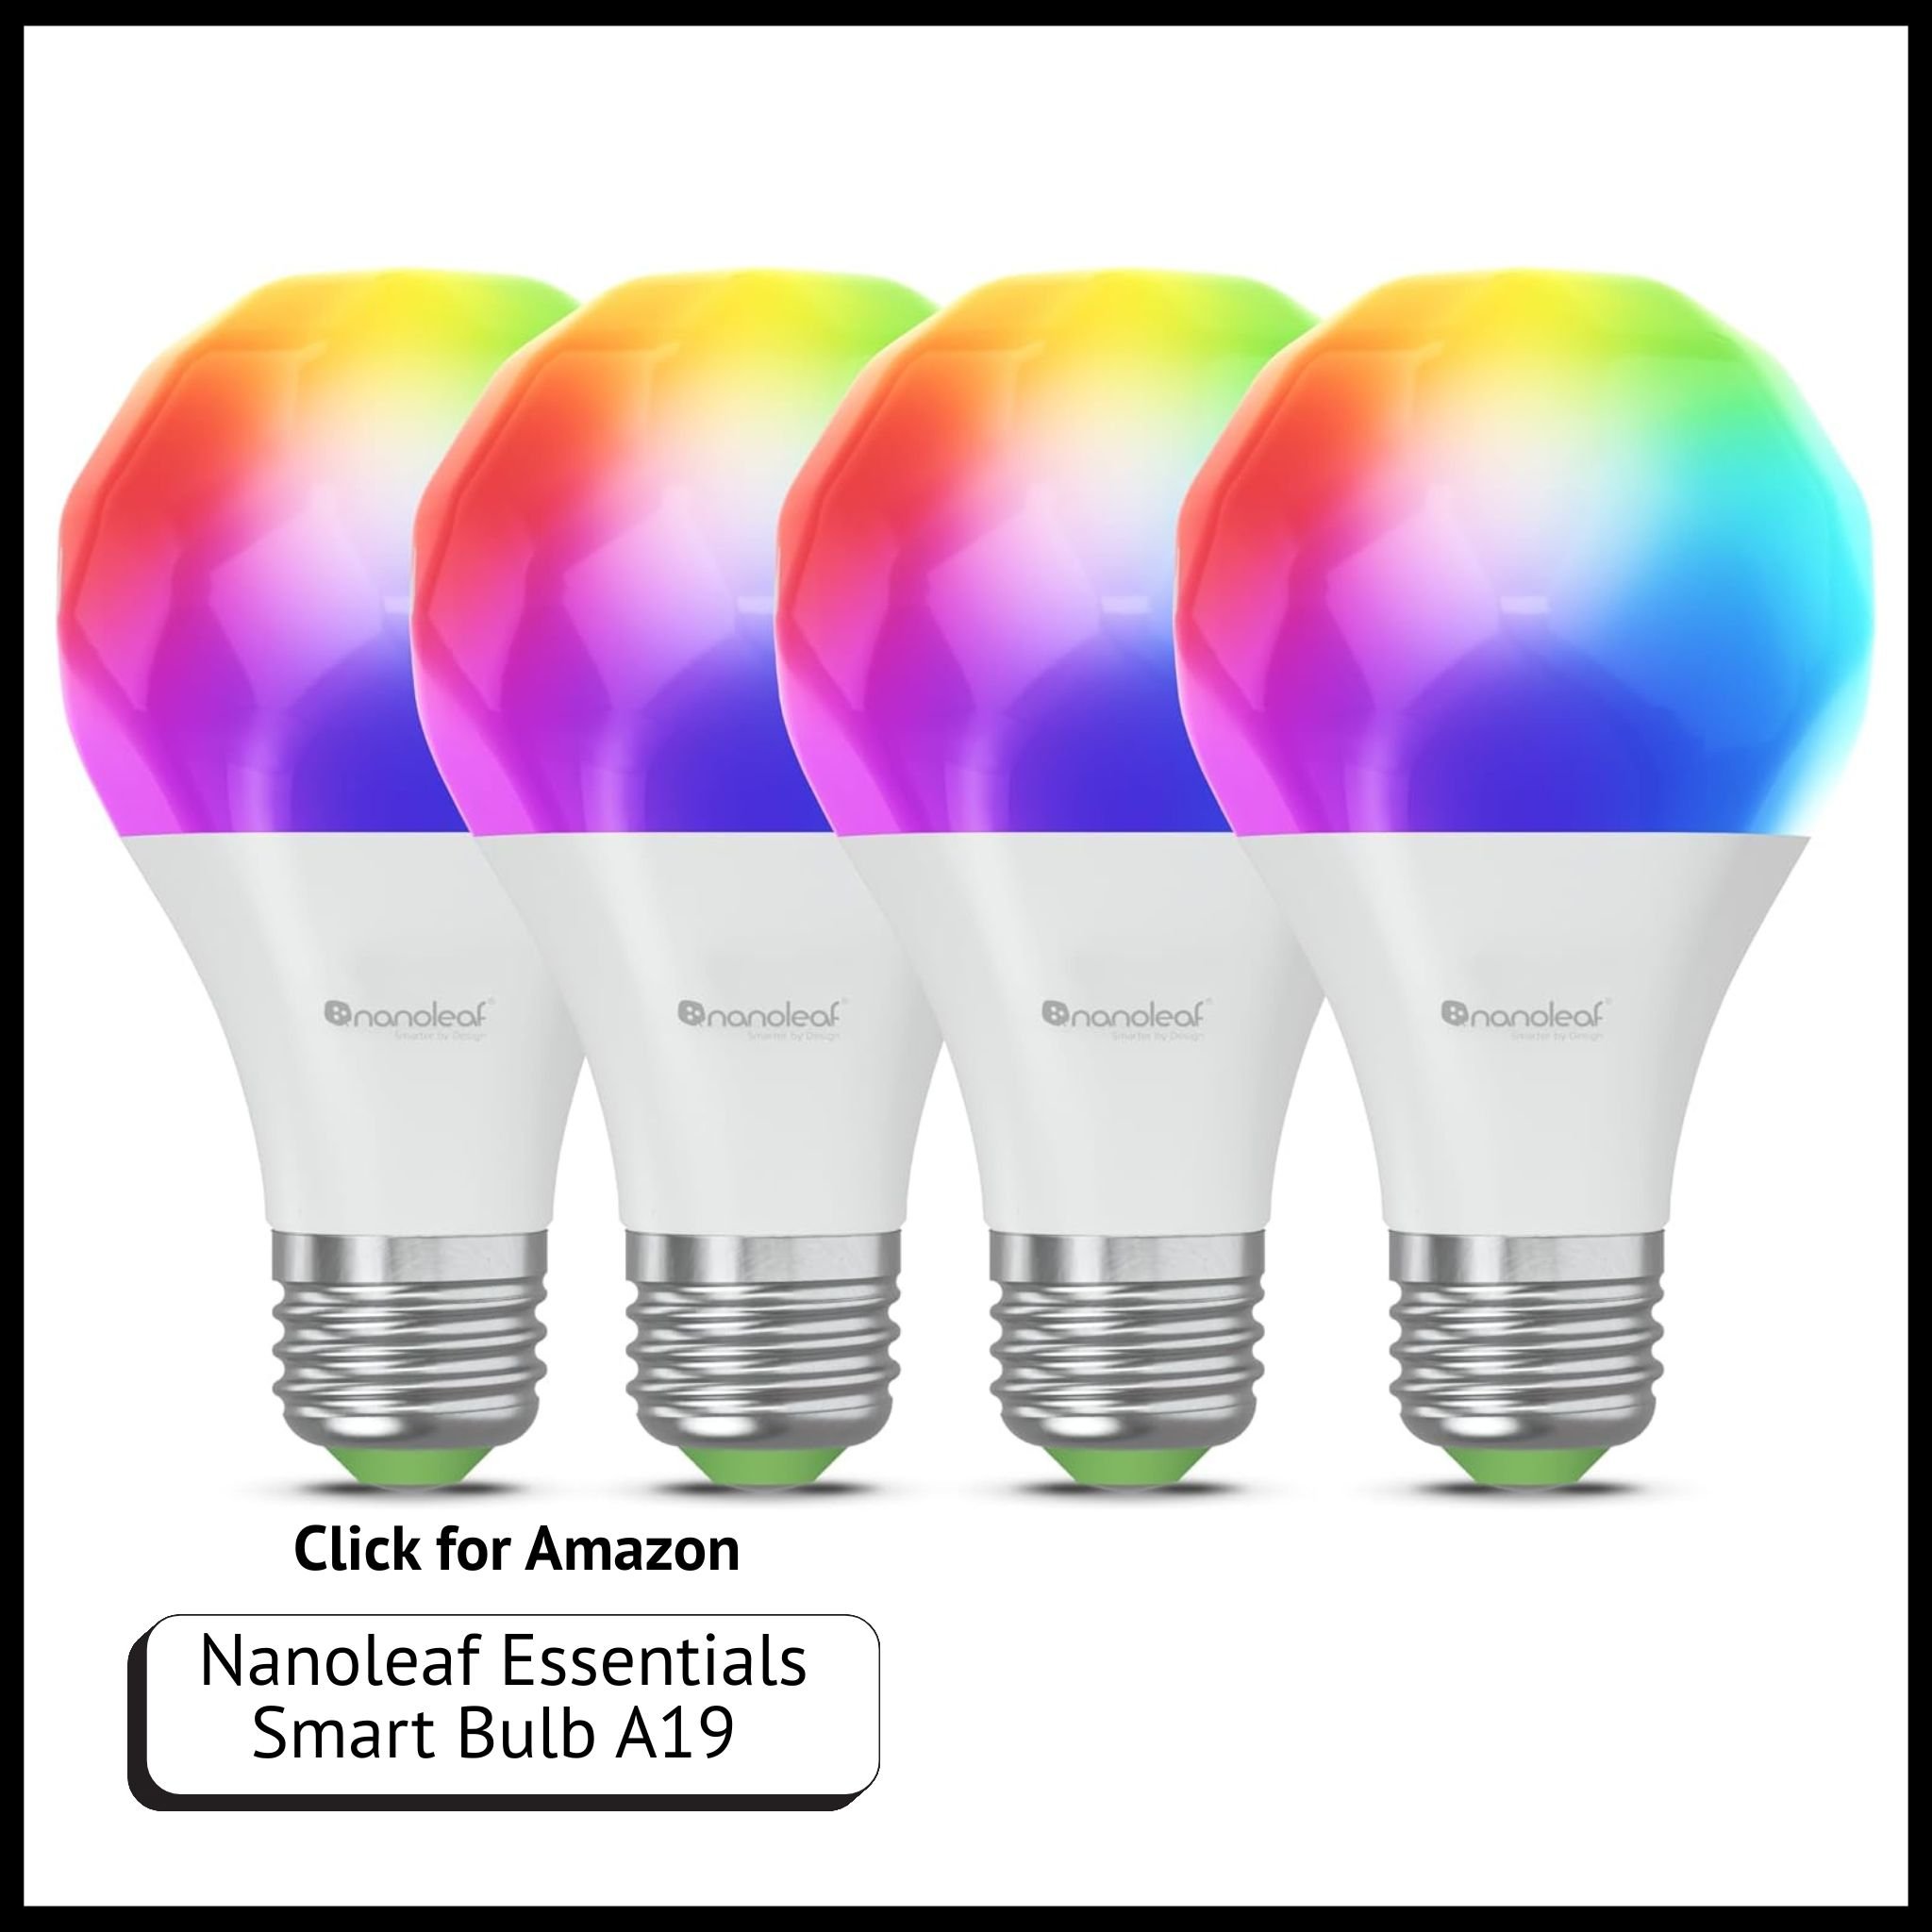
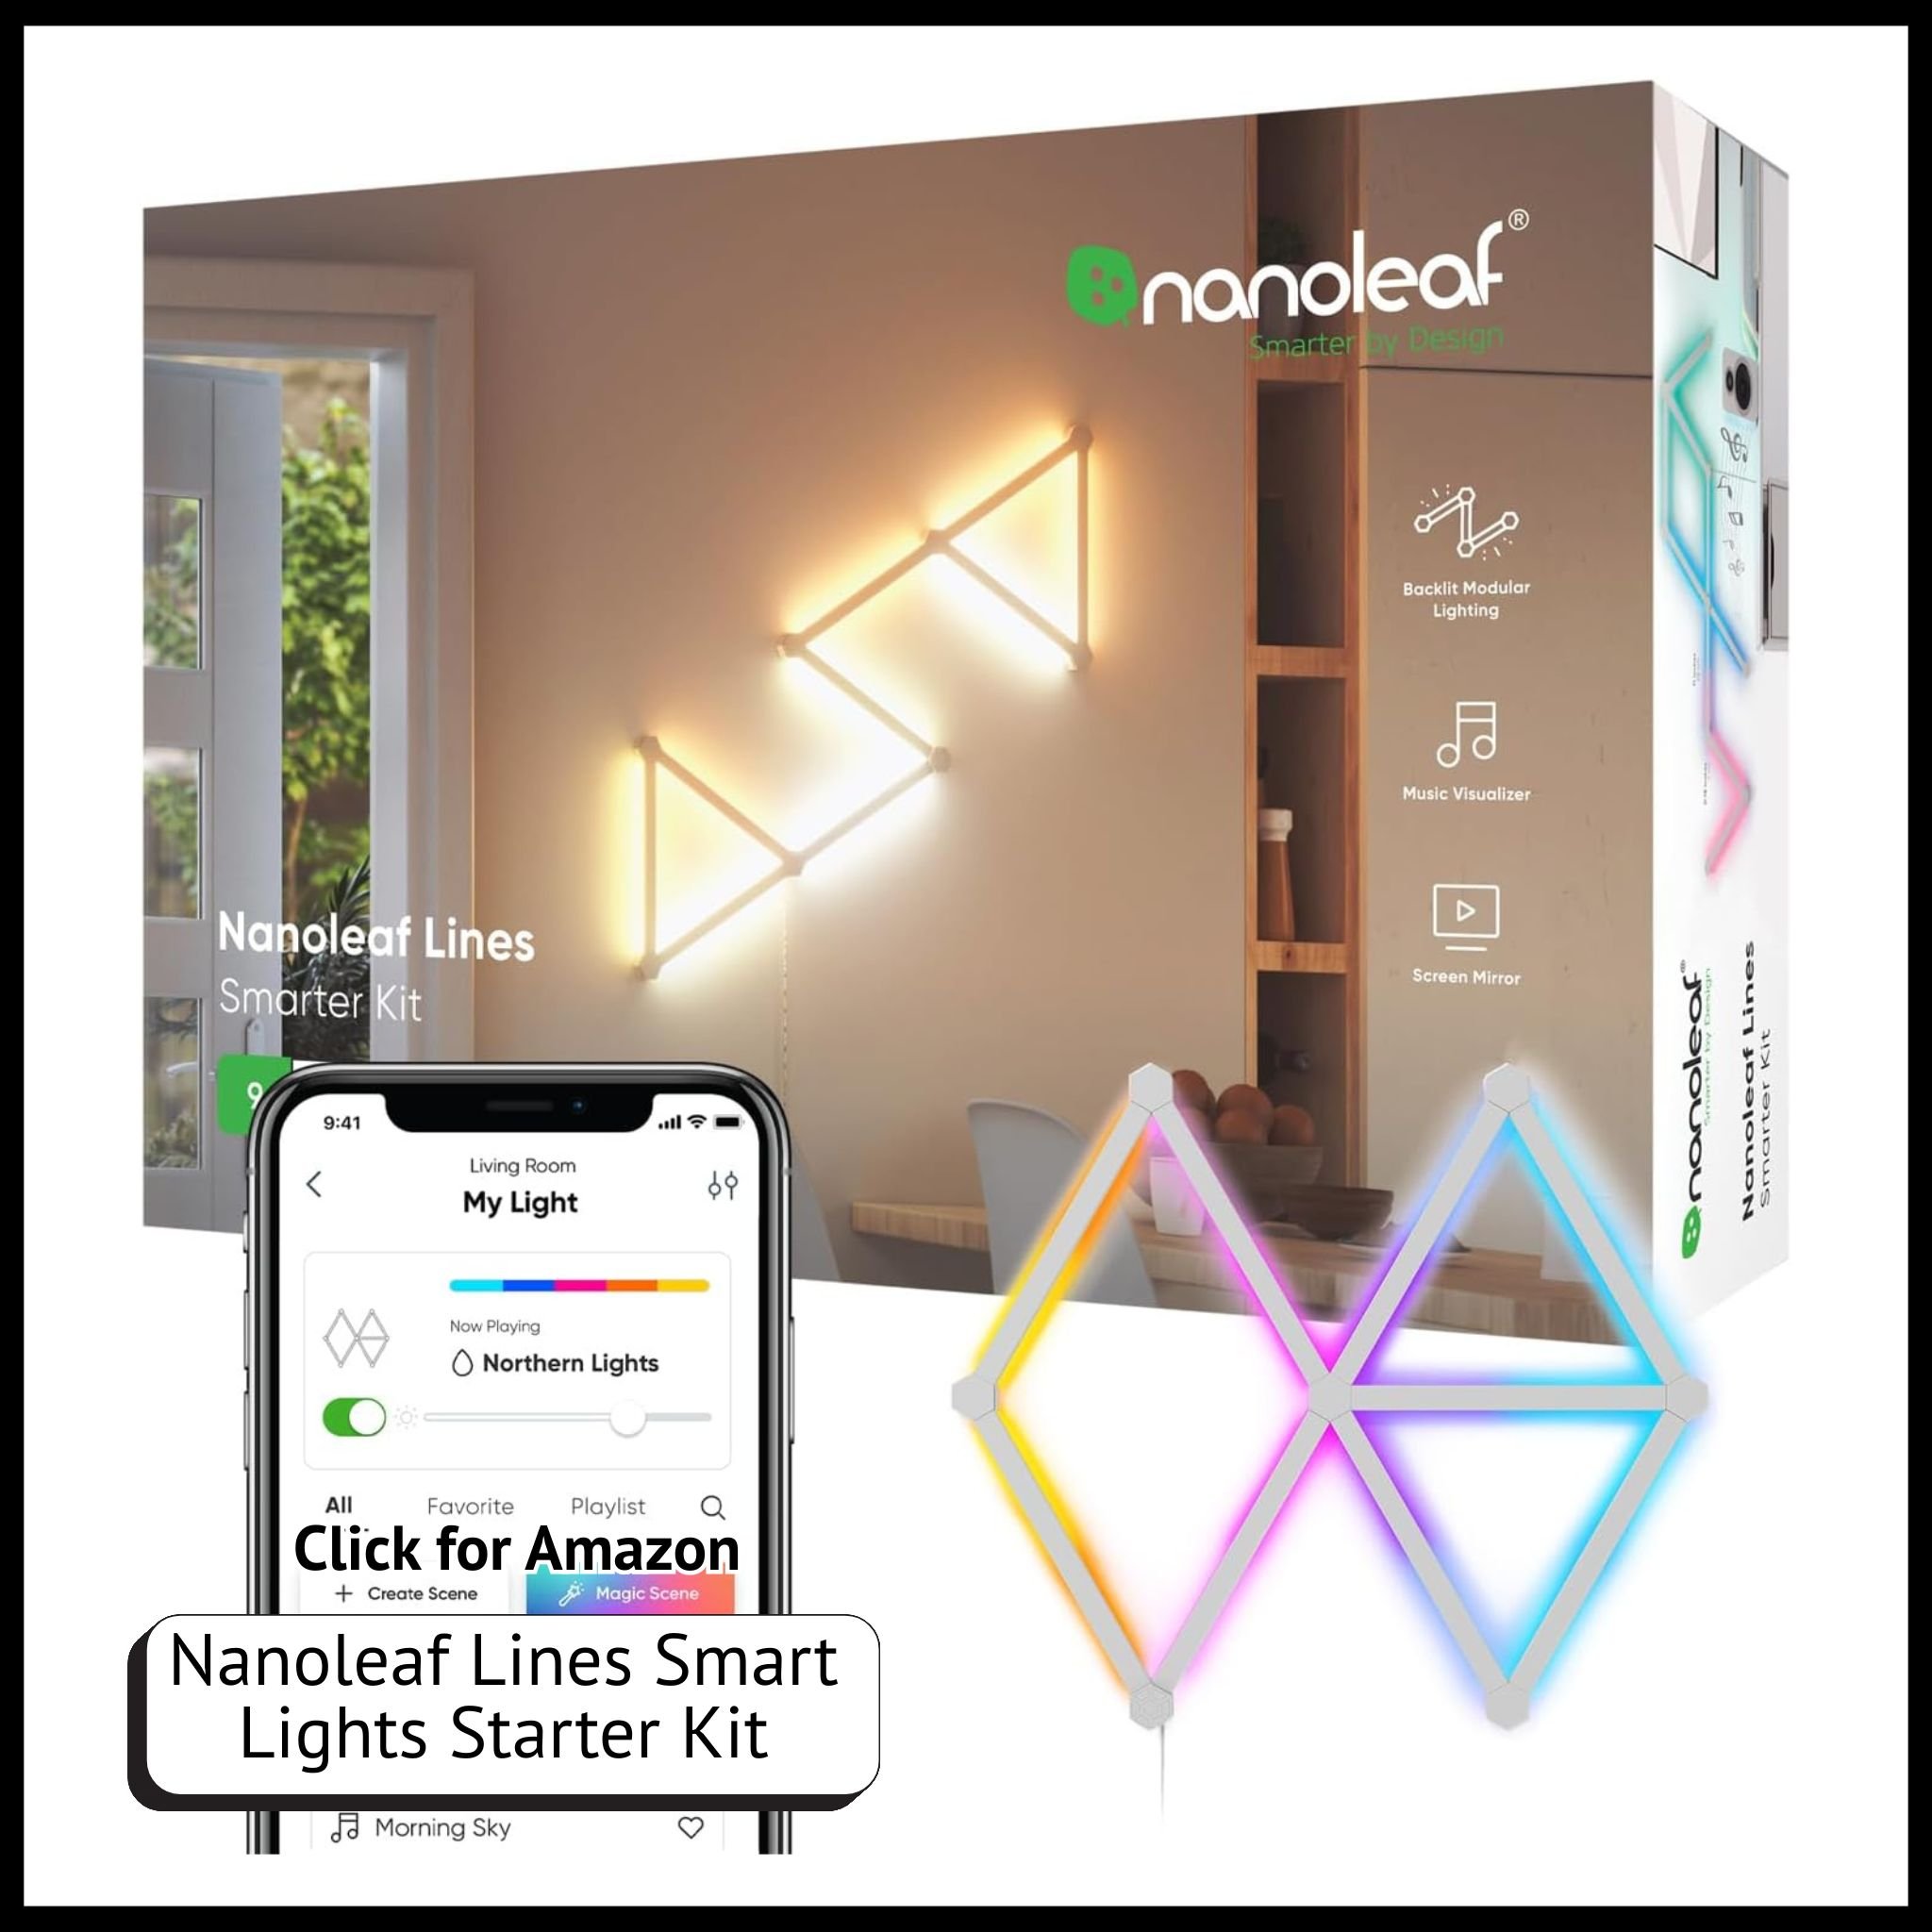
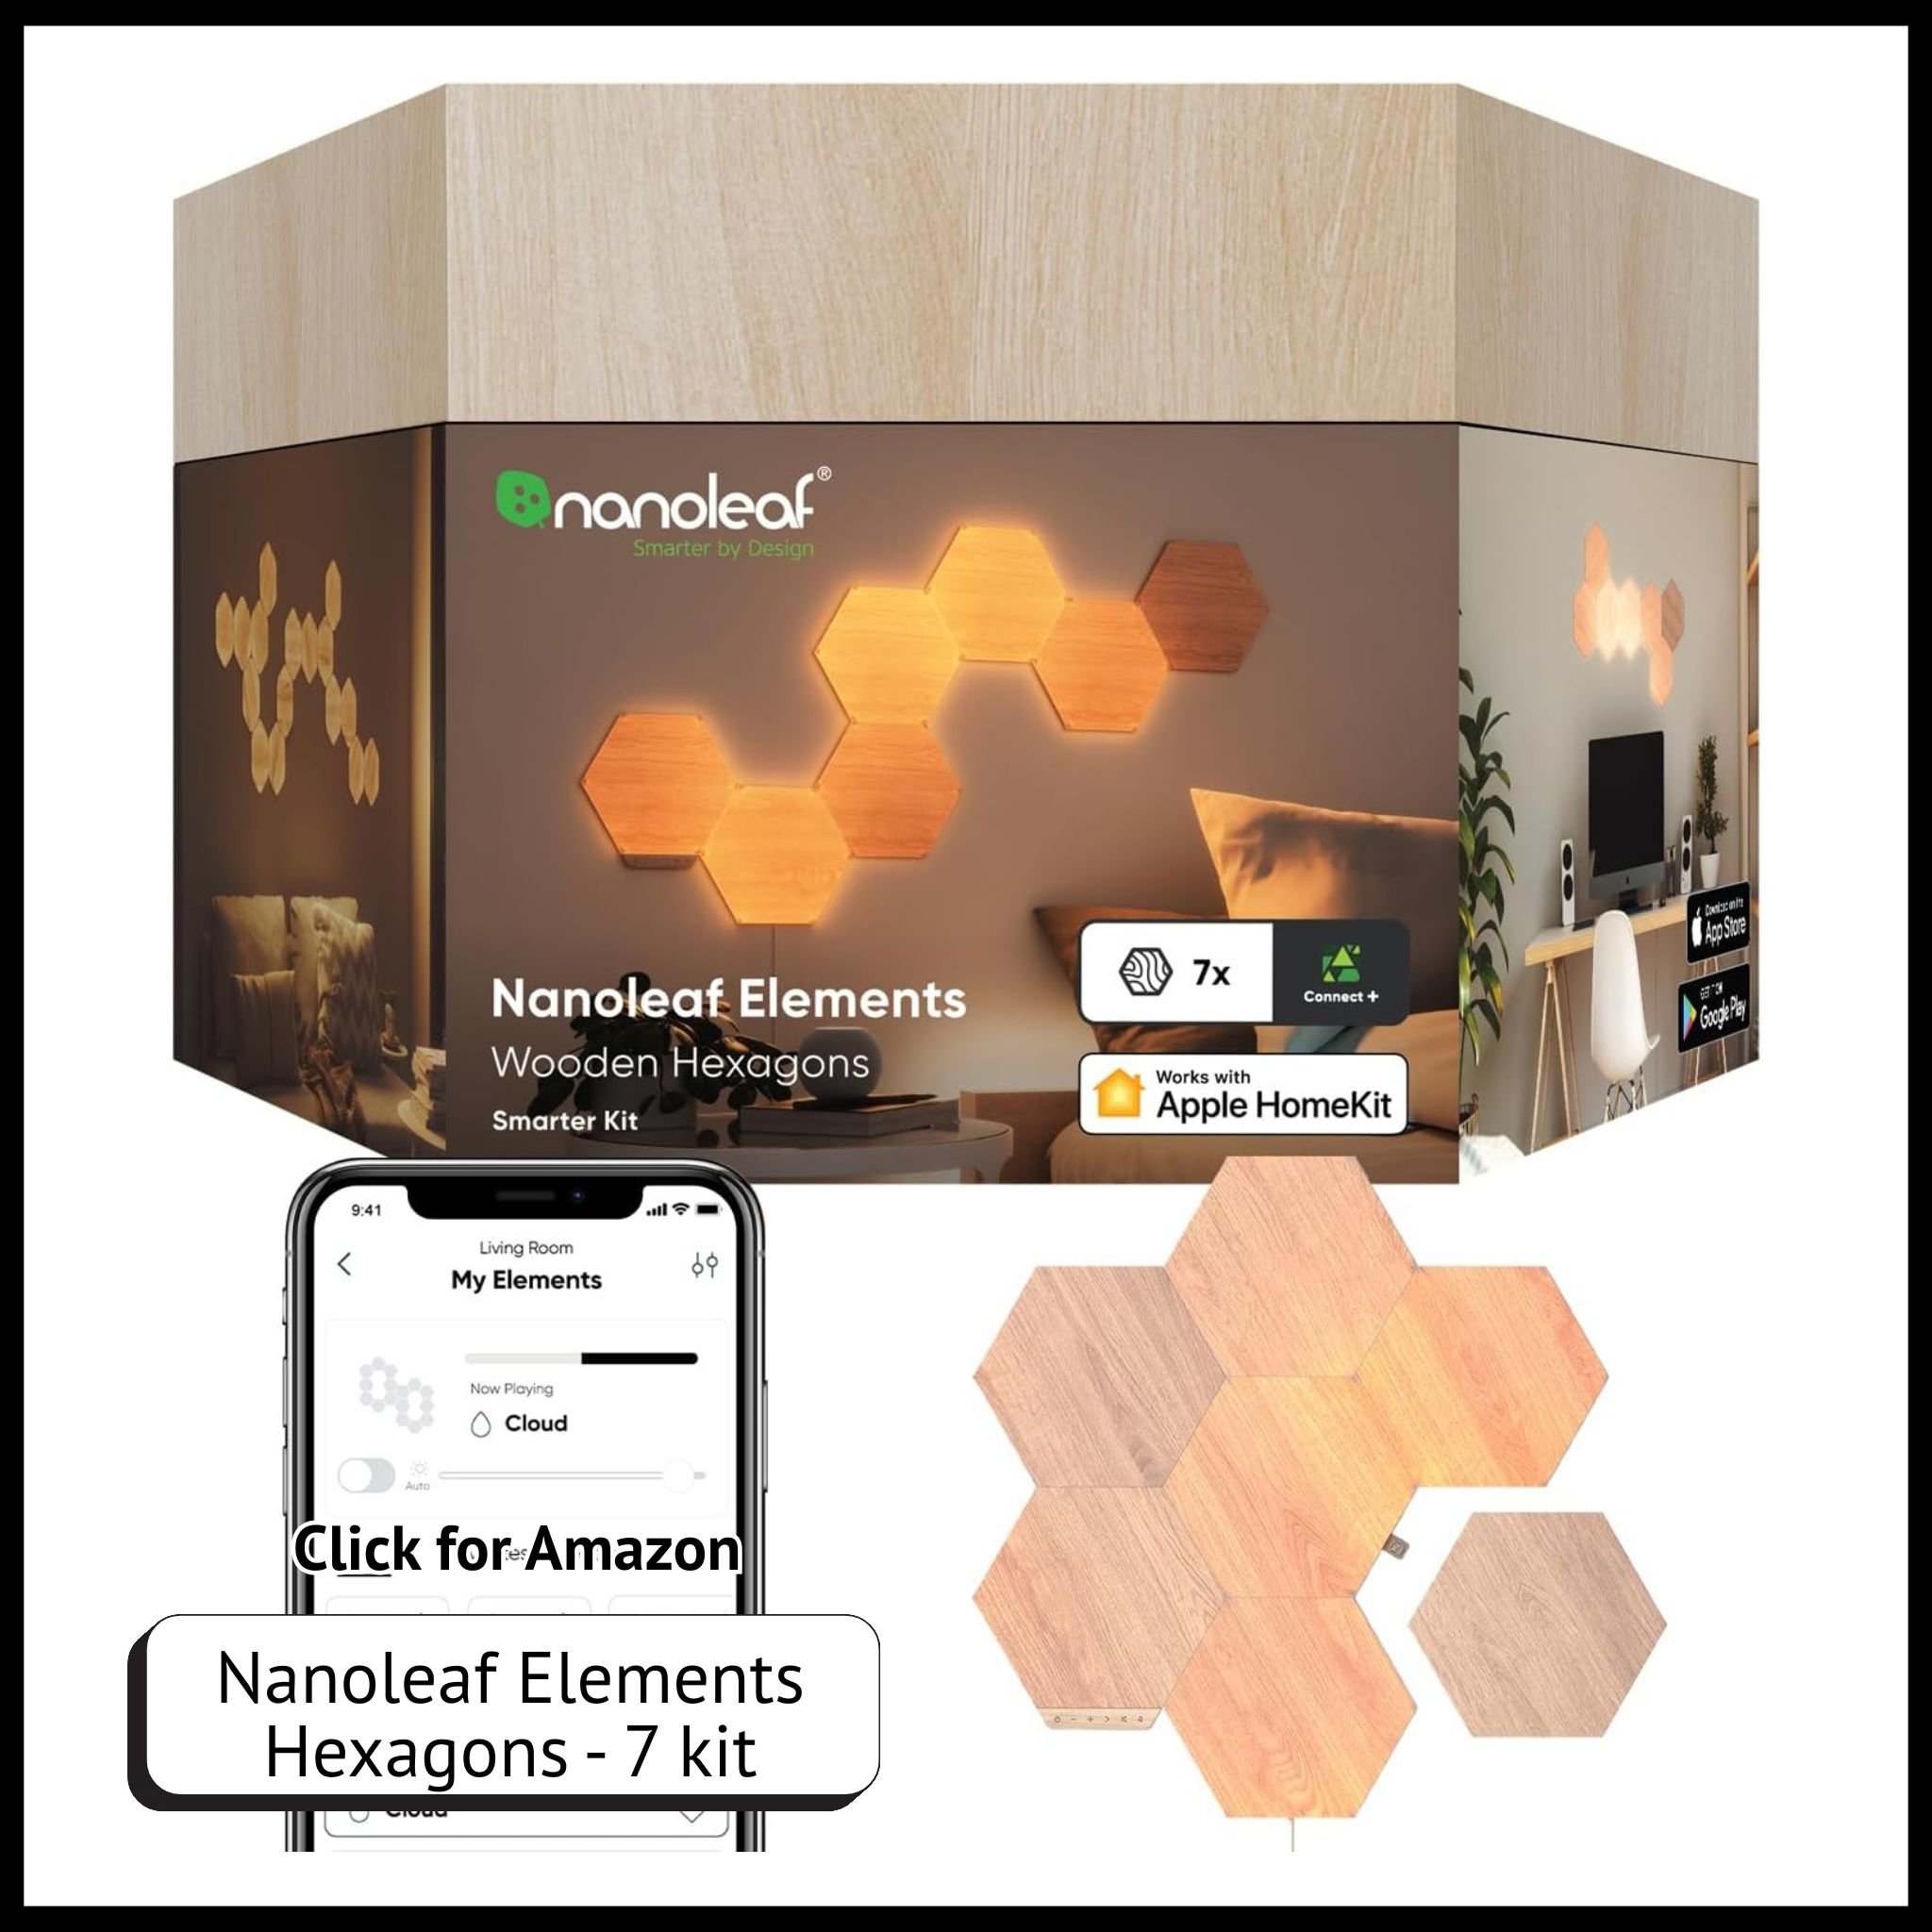
Step 4: Add Nanoleaf Smart Lights (Bulbs, Strips, Lines & Shapes)
Nanoleaf offers fun, customizable lighting that works beautifully with both Apple Home and Google Home.
Steps to integrate Nanoleaf:
Install your Nanoleaf bulbs, light strips, or panels.
Use the Nanoleaf app to connect them to Wi-Fi.
Add them to your smart home ecosystem.
Create scenes like:
“Movie Night” with dimmed lights and an LED backlight.
“Wake Up” where lights gradually brighten.
“Gaming Mode” syncing lights with sound or screen visuals.
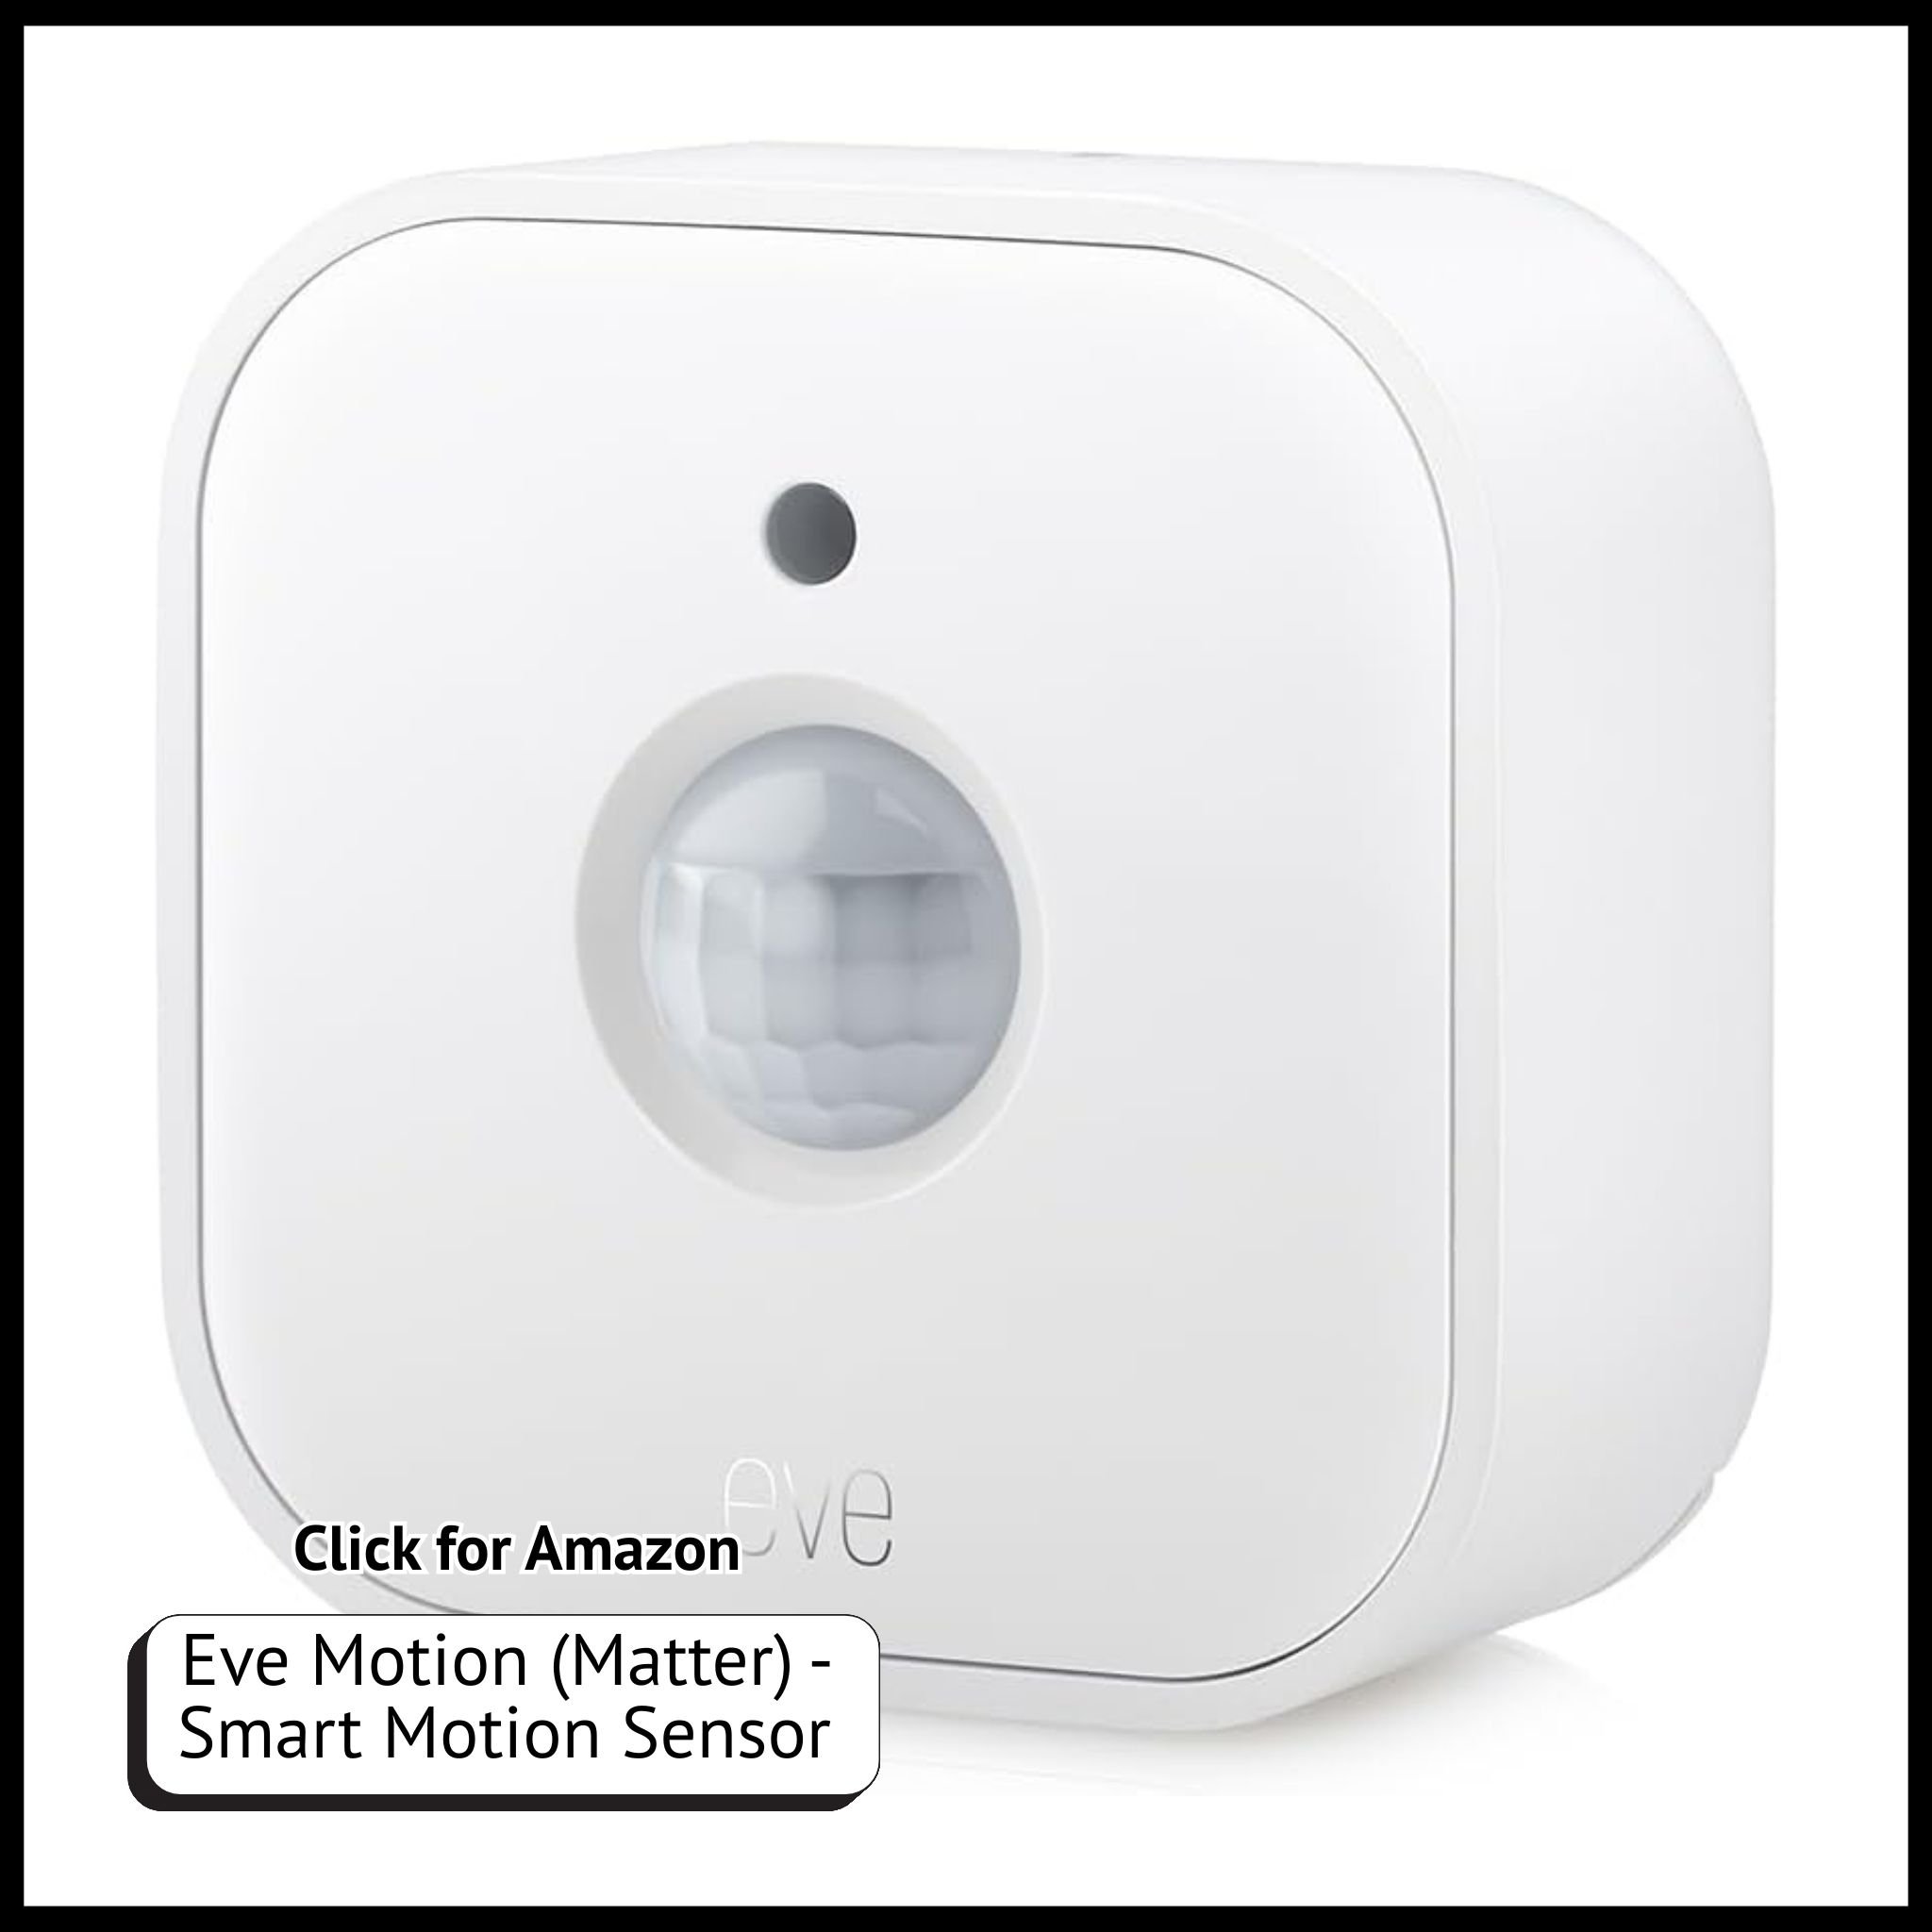
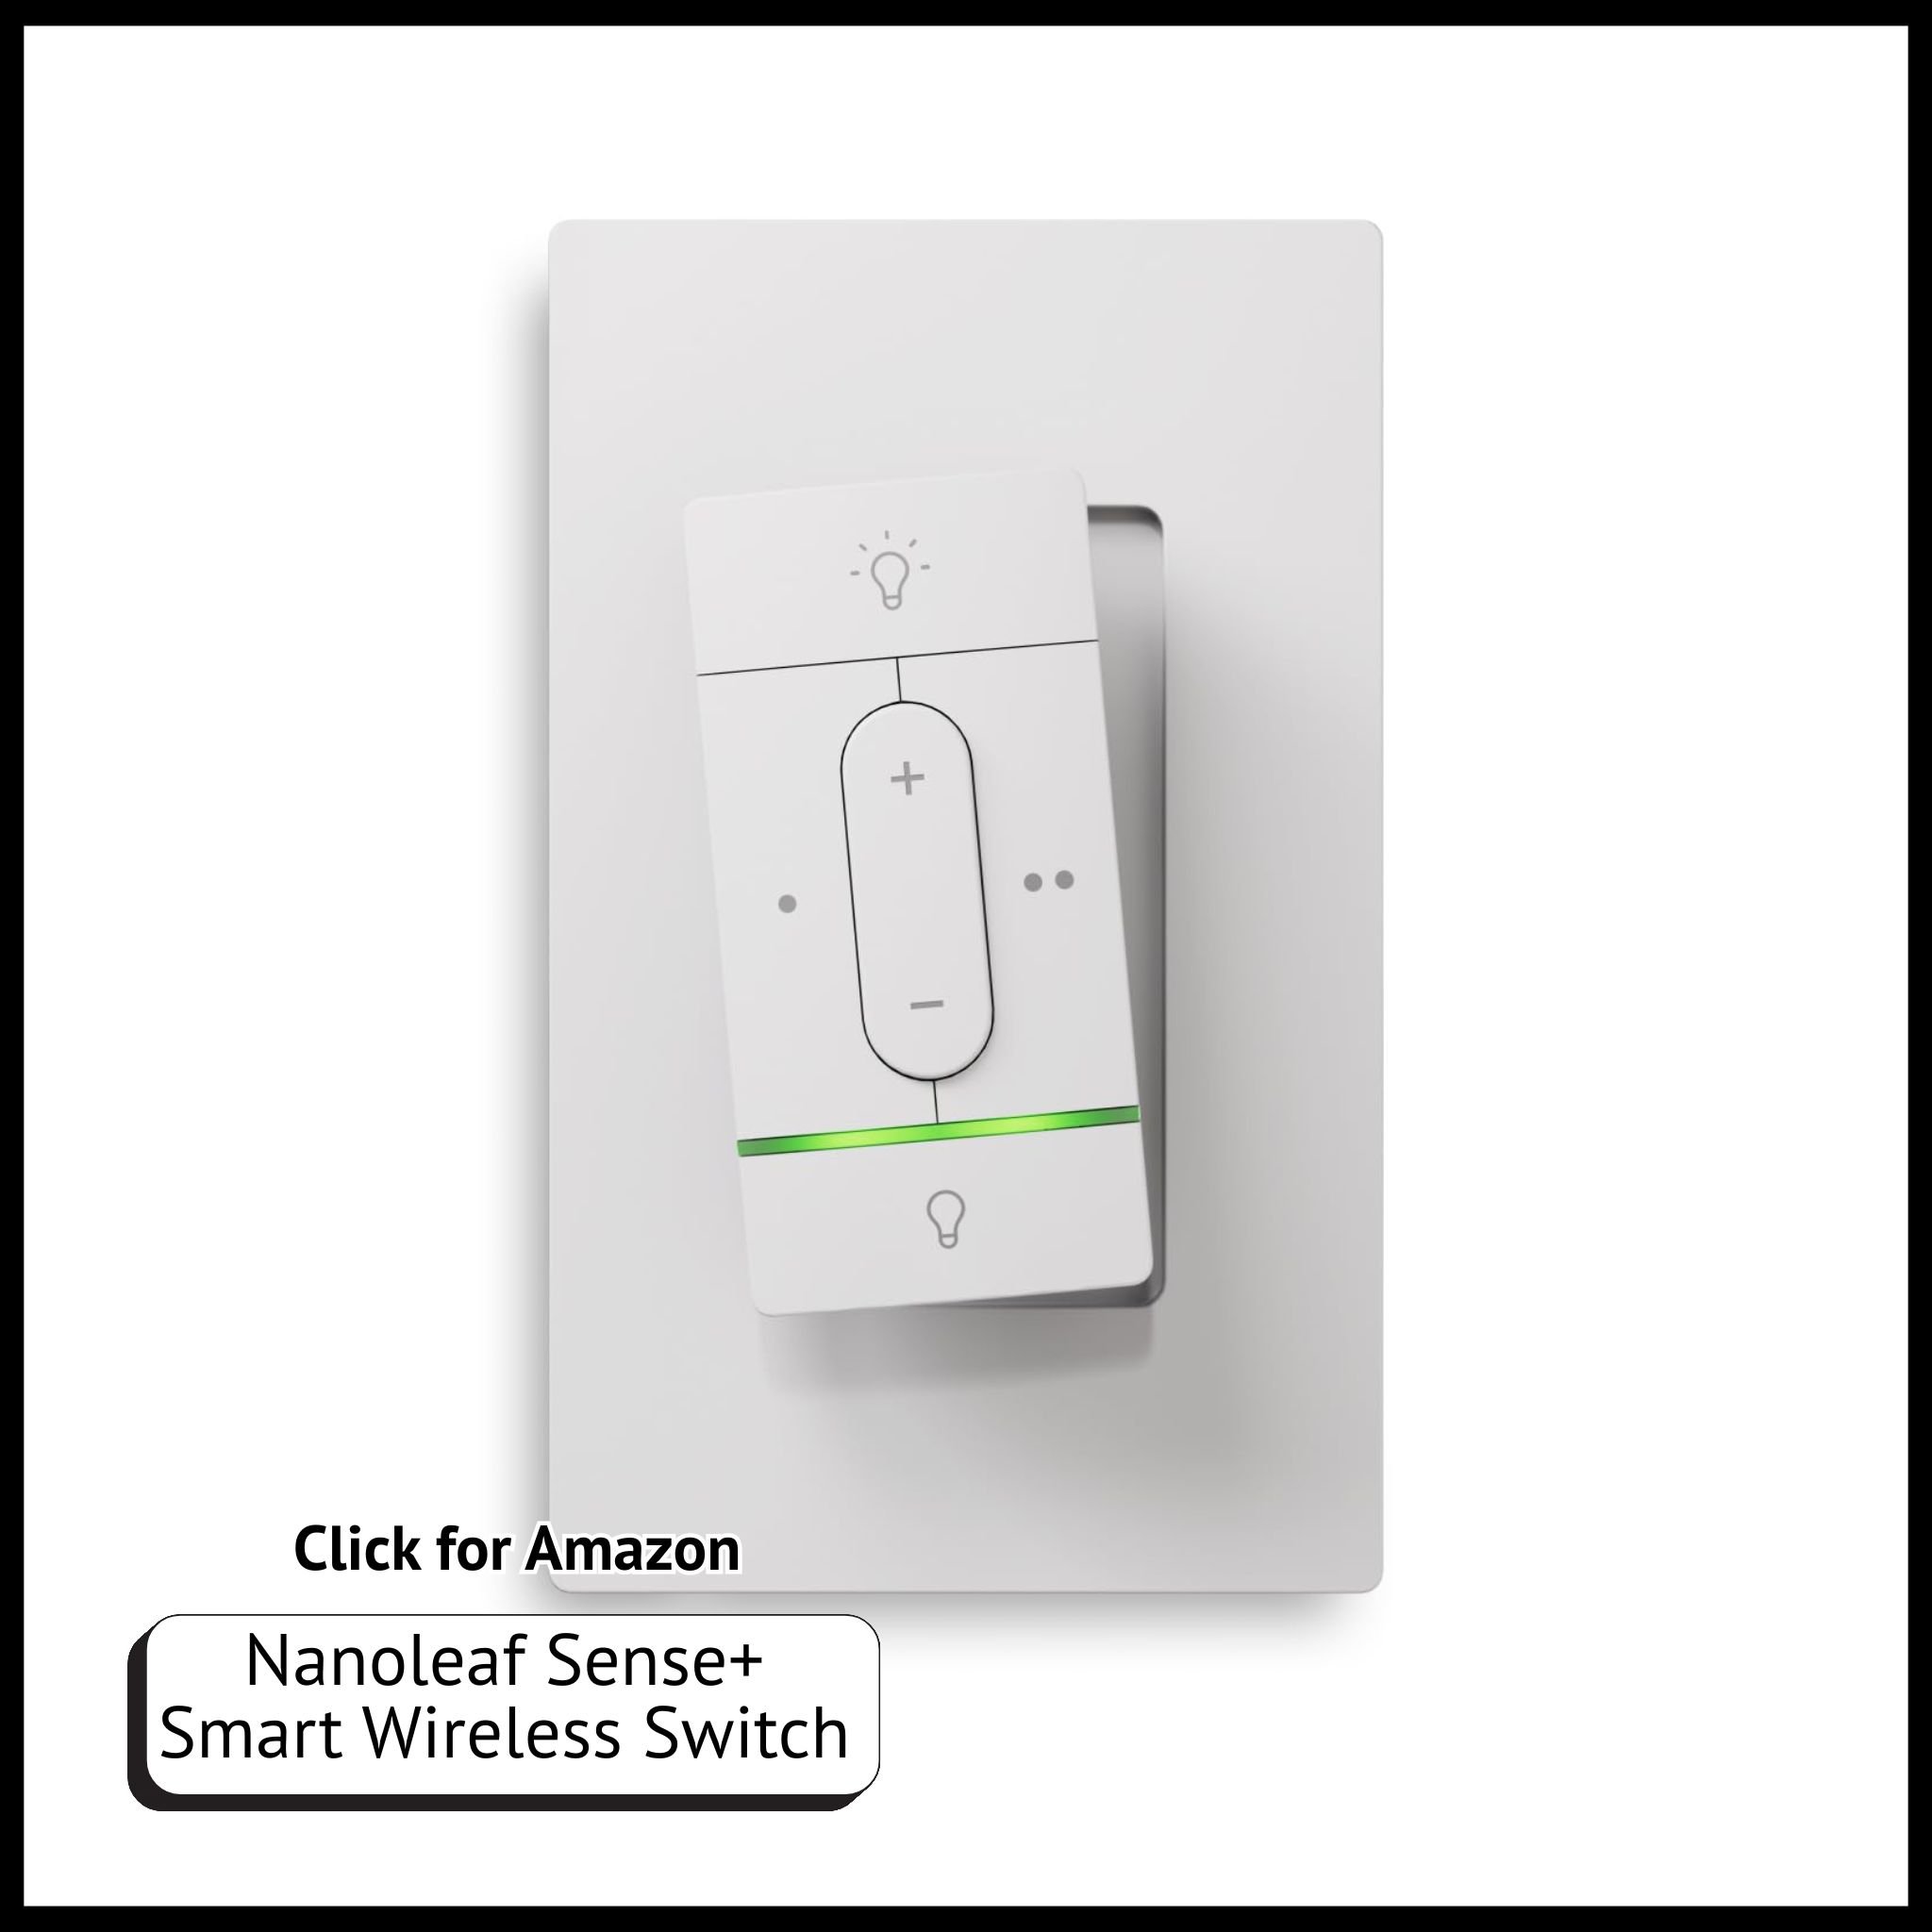
Step 5: Automate Bathroom Lighting with a Light Sensor
A light sensor is a small addition that makes a big impact. When placed in the bathroom, it can turn lights on only when motion is detected and turn them off after a set time.
Setup steps:
Position the sensor in a dim or low-light area.
Connect it to your chosen smart home app.
Link it to smart lights like Nanoleaf to respond to motion.
Adjust settings for light sensitivity and auto-off timing.
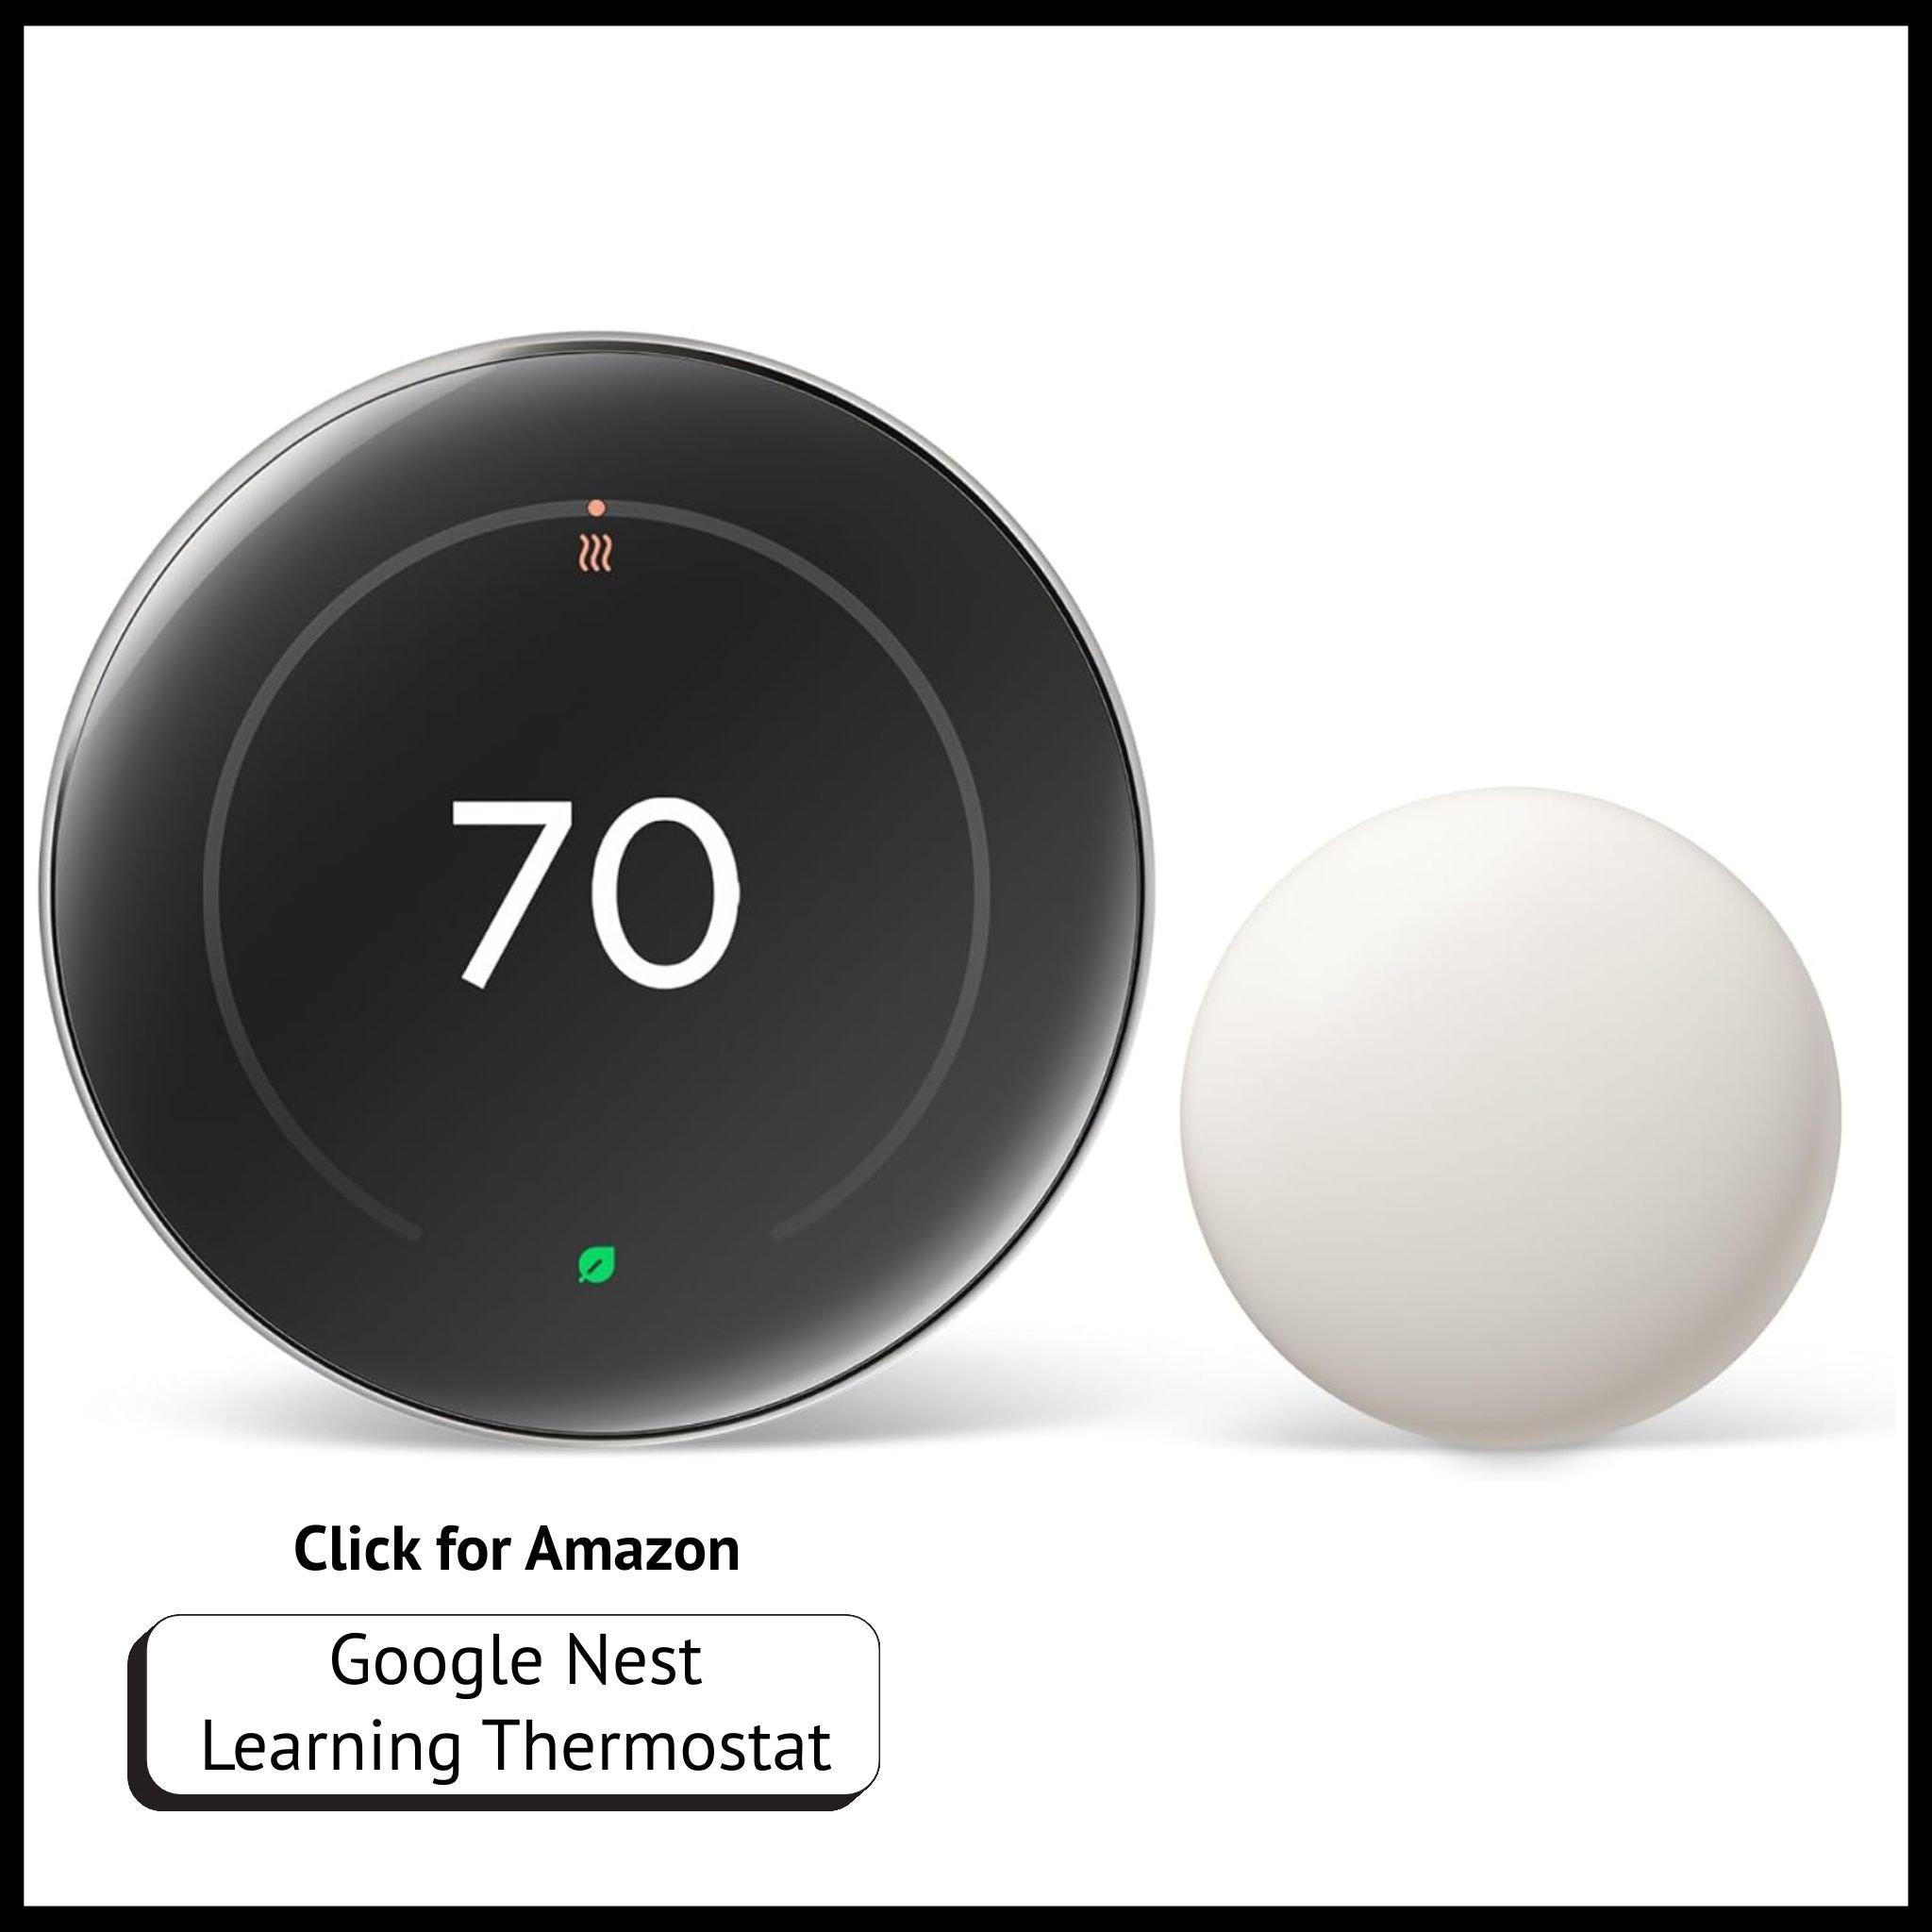
Step 6: Enhance Controls with Google Nest
If you’re using a Google Nest, it can double as a smart speaker and control center for your devices.
To set it up:
Use the Google Home app to configure your Nest.
Connect compatible devices like smart plugs or lights.
Use Google Assistant for voice commands.
Create routines like "Good Morning" that turn on lights, play music, and read the news.
Step 7: Try Smart Home Automations
Once your devices are connected, the real fun begins—automation! Here are a few ideas to try:
“Good Morning” Routine:
Lights brighten gradually
Coffee maker turns on
Music or news starts playing
“Bedtime” Routine:
Lights dim or shut off
Plugs power down unused devices
White noise or calming sounds play
“Away Mode” for Security:
Lights turn on/off at random times
Alerts notify you of motion or sound activity via Google Nest
If you’d be interested in more detailed automations let us know and we can share some of our favorites broken down step by step!
Final Thoughts: Expand as You Go
Once the essentials are in place, you can continue building your smart home with devices like smart locks, security cameras, and smart thermostats. What makes a smart home truly powerful is that it’s tailored to your needs and can grow over time.
If you’re ready to upgrade your setup, I’ve rounded up everything mentioned below so you can shop directly.

What Do You Want to See Next?
Have questions or ideas for future smart home content? Whether you're curious about automating pet care, managing shared spaces with roommates, or maximizing your smart lighting setup, drop your suggestions in the comments or send a message. Your feedback helps shape upcoming posts!
Don't miss out! Sign up to receive news and updates
Unlock More